A Berry Fun Clay Project
By: Calan Ree
Model Magic is a very soft, sort-of fluffy air dry clay that comes in a variety of colors. I recommend a package of primary colors which also includes white. I prefer using the primary color pack – RED, YELLOW, BLUE plus WHITE because mixing colors is not only fun and feels like magic, but it’s educational. I have worked with all ages using model magic – from tiny tots to adults and everyone seems to love mixing their own colors.
When you buy a tub or package of primary colors you will most likely get a color mixing guide and even some project ideas, but even without them, folks figure it out using very small amounts of the clays and experimenting with pressing and folding and squishing and seeing what happens.
In addition to the clay, you might want a few tools. If you have plastic clay shaper tools already, great, but you can also use the ends of brushes, pencils, pens, toothpicks, sticks, plastic forks, etc. No need to worry about having the perfect tools because you have those already built in – hands!
Once you have gathered clay and basic tools, you can start by talking about your favorite foods. I usually start with fruit. I love strawberries. I love eating them and I love sculpting them, so that is often a fun place to start for me. My enthusiasm is often contagious and yours will be too!
The next step is to choose a color. For strawberries this is simple. I choose red and make a round shape and then begin to press and pinch one side to elongate into a strawberry-like shape. Next, I look for green and realize this is a secondary color, so I’ll need to make my own! Blue and yellow clays will make green. If I use even amounts of blue and yellow, my green will be darker than if I use a lot of yellow and some blue.
I pinch some dark green clay into long tear drop shapes and flatten them with my fingers to make leaves. I might use a toothpick or plastic clay knife to serrate the edges a bit. Then I press those on top of the strawberry. Model magic just sticks to itself, so you don’t need to ‘score and slip’ or use glue. I roll a little chubby short stick nub to place on top of the leaves to indicate a stem. Press it into place and it should stick.
Finally, I start rolling teeny bits of clay into balls which I squeeze on one side to make more seed shaped. Then I flatten them on as the finishing touch. If tiny hands find this part challenging, an option might be to use a marker and draw on the dots or even pressing a pen tip to create the seeds with texture. Anything goes. Once I’ve added my seeds, I admire my little creation and decide what favorite food friends to make next.
EXTRAS
If you have some small gem stones on hand, you can use those instead and make your berry extra fancy. Maybe you want to use sequins or glitter. Adding googly eyes could be fun! Or make eyes, nose, mouth out of the model magic! Kids often love using pipe cleaners…these can be pushed in to larger sculptures to create arms or wings or whatever you can imagine. If you are attaching non clay bits, I suggest a dot of craft glue before pressing it into the clay.
If you would like to make a larger sculpture – you can roll up some aluminum foil into a berry-like shape and wrap the model magic around it. This foil acts as an armature. You can use anything really. The armature will help you use way less clay and get the general shape started. You can refine once you layer clay on top.
SUGGESTIONS
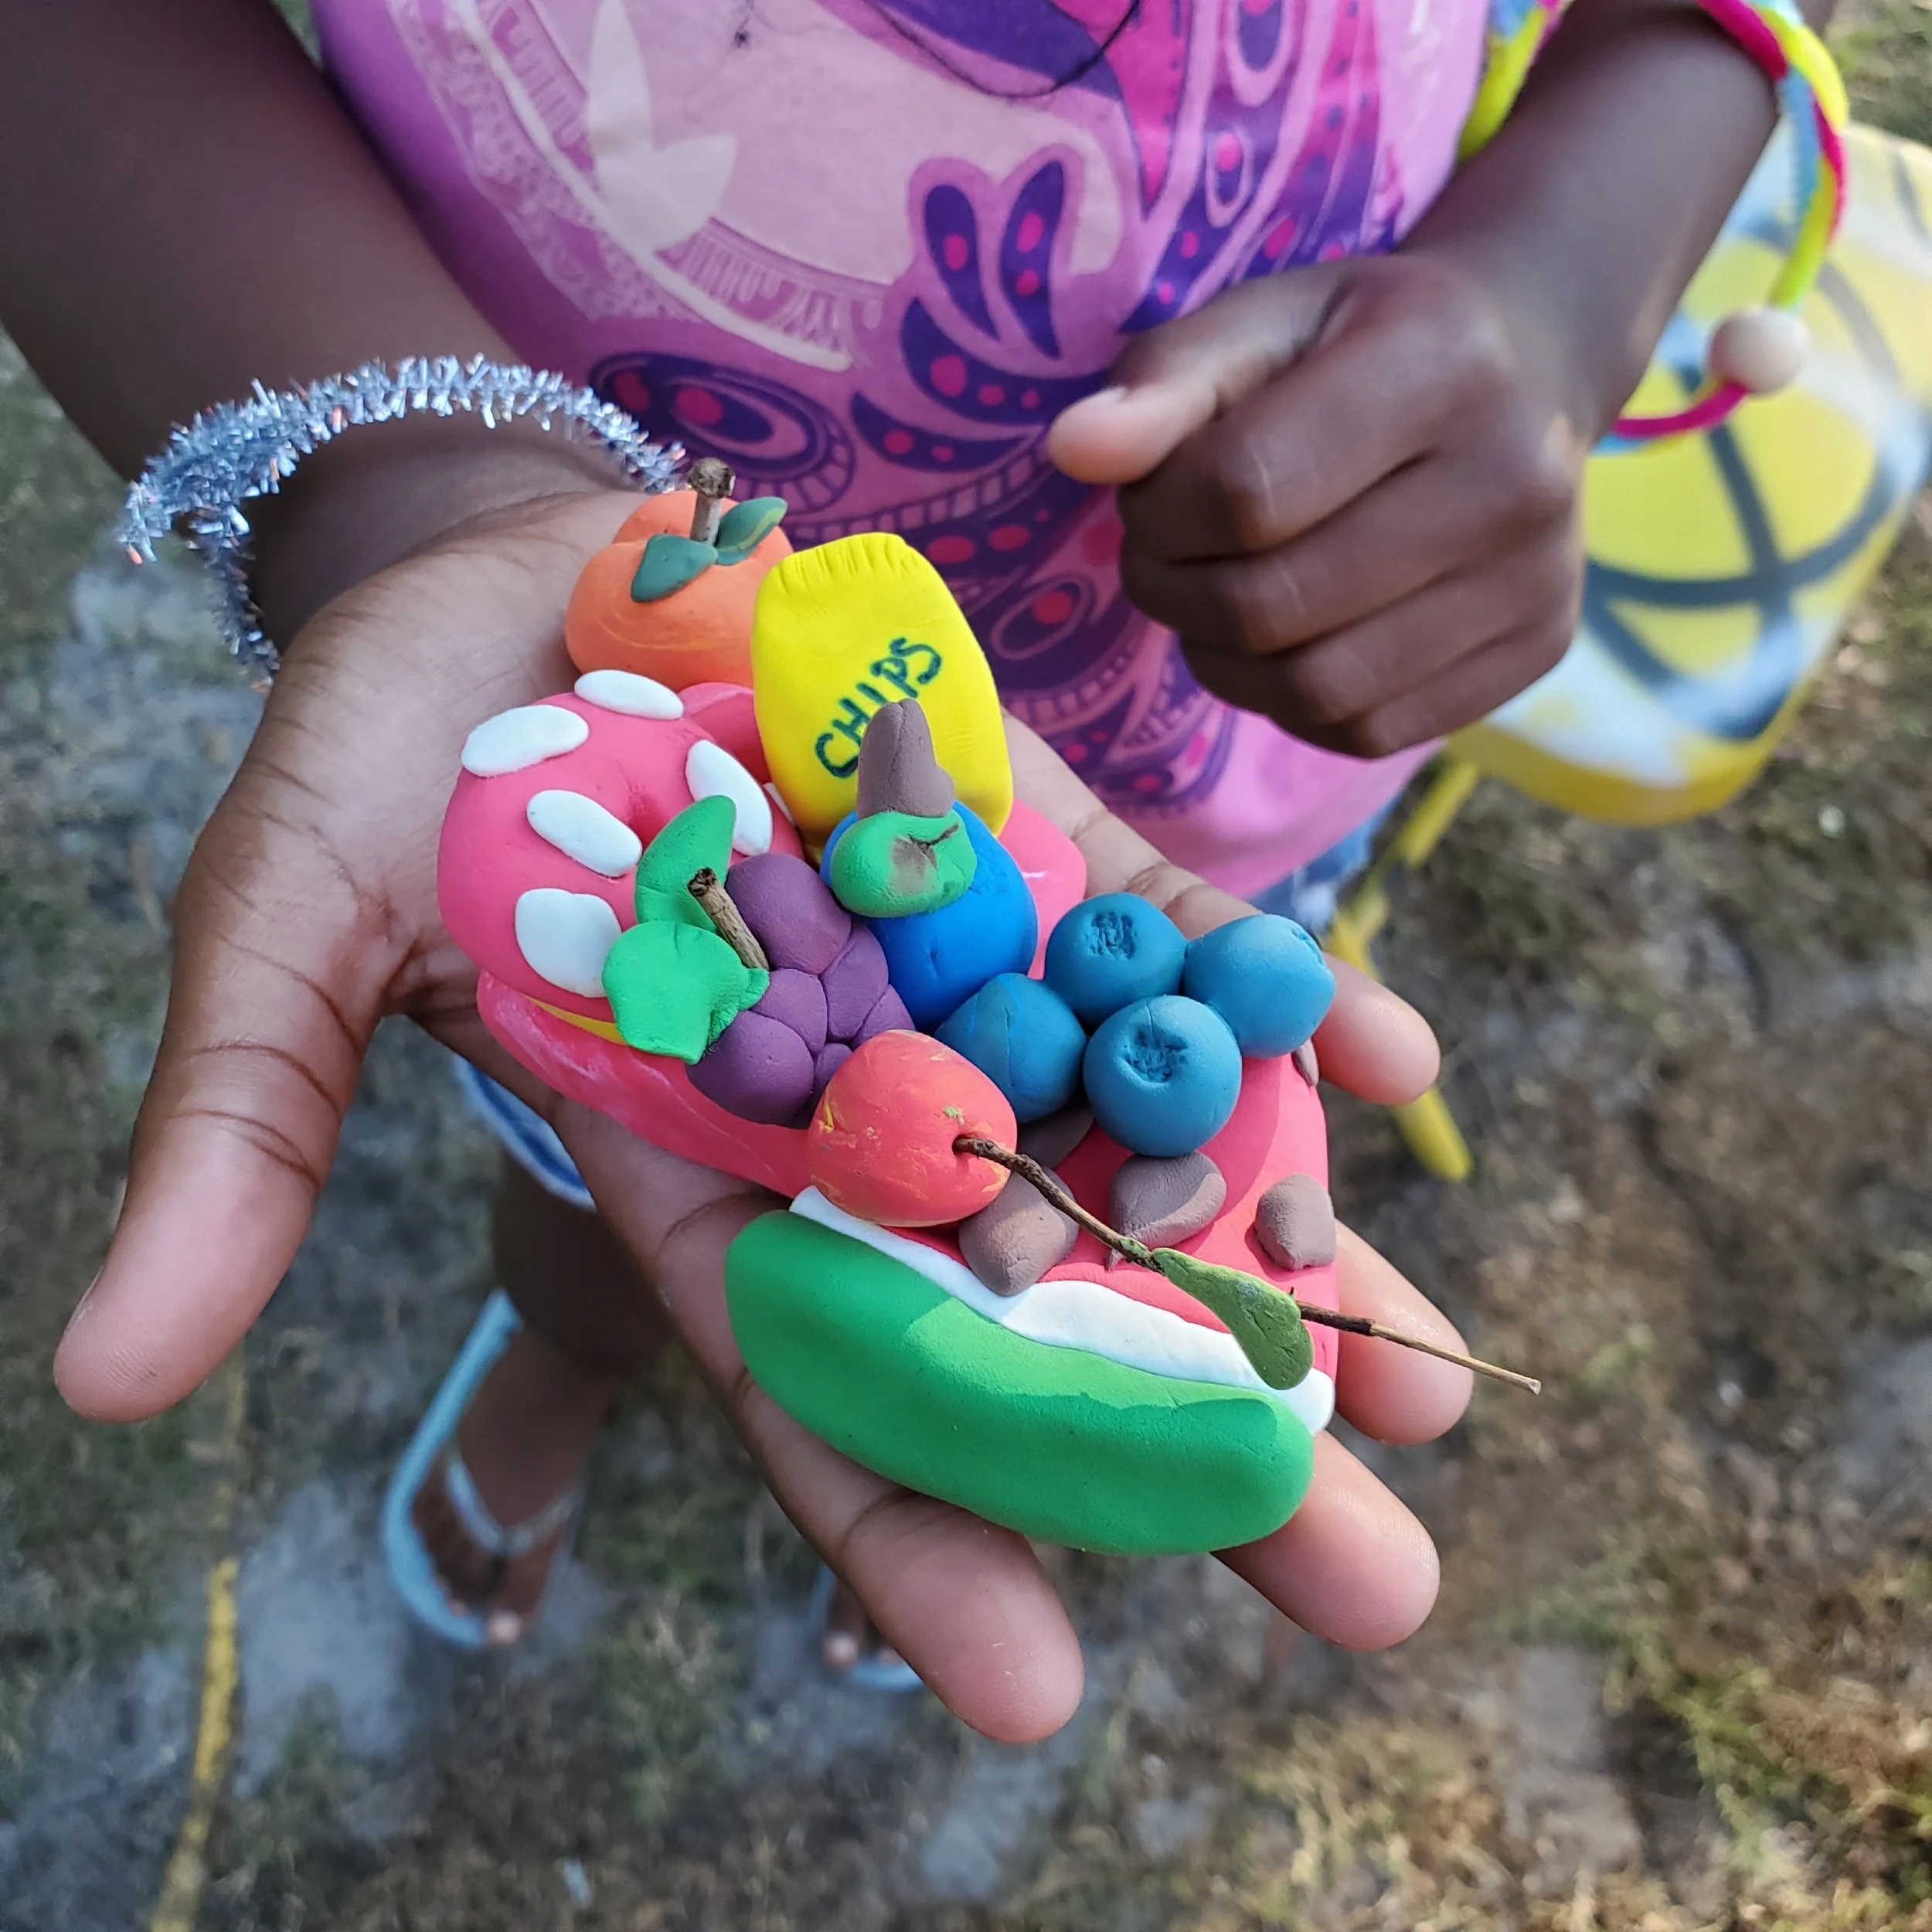
Kids seem to really love creating layered foods burgers with seeded buns and all the toppings, tacos, pizza, salad, fruit bowls, etc. This really gets them mixing colors and exploring shapes and allows them to use their imaginations to create the tastiest, or weirdest versions of these foods that they want.