A NOMAD Guide for Wood Build
What this project is:
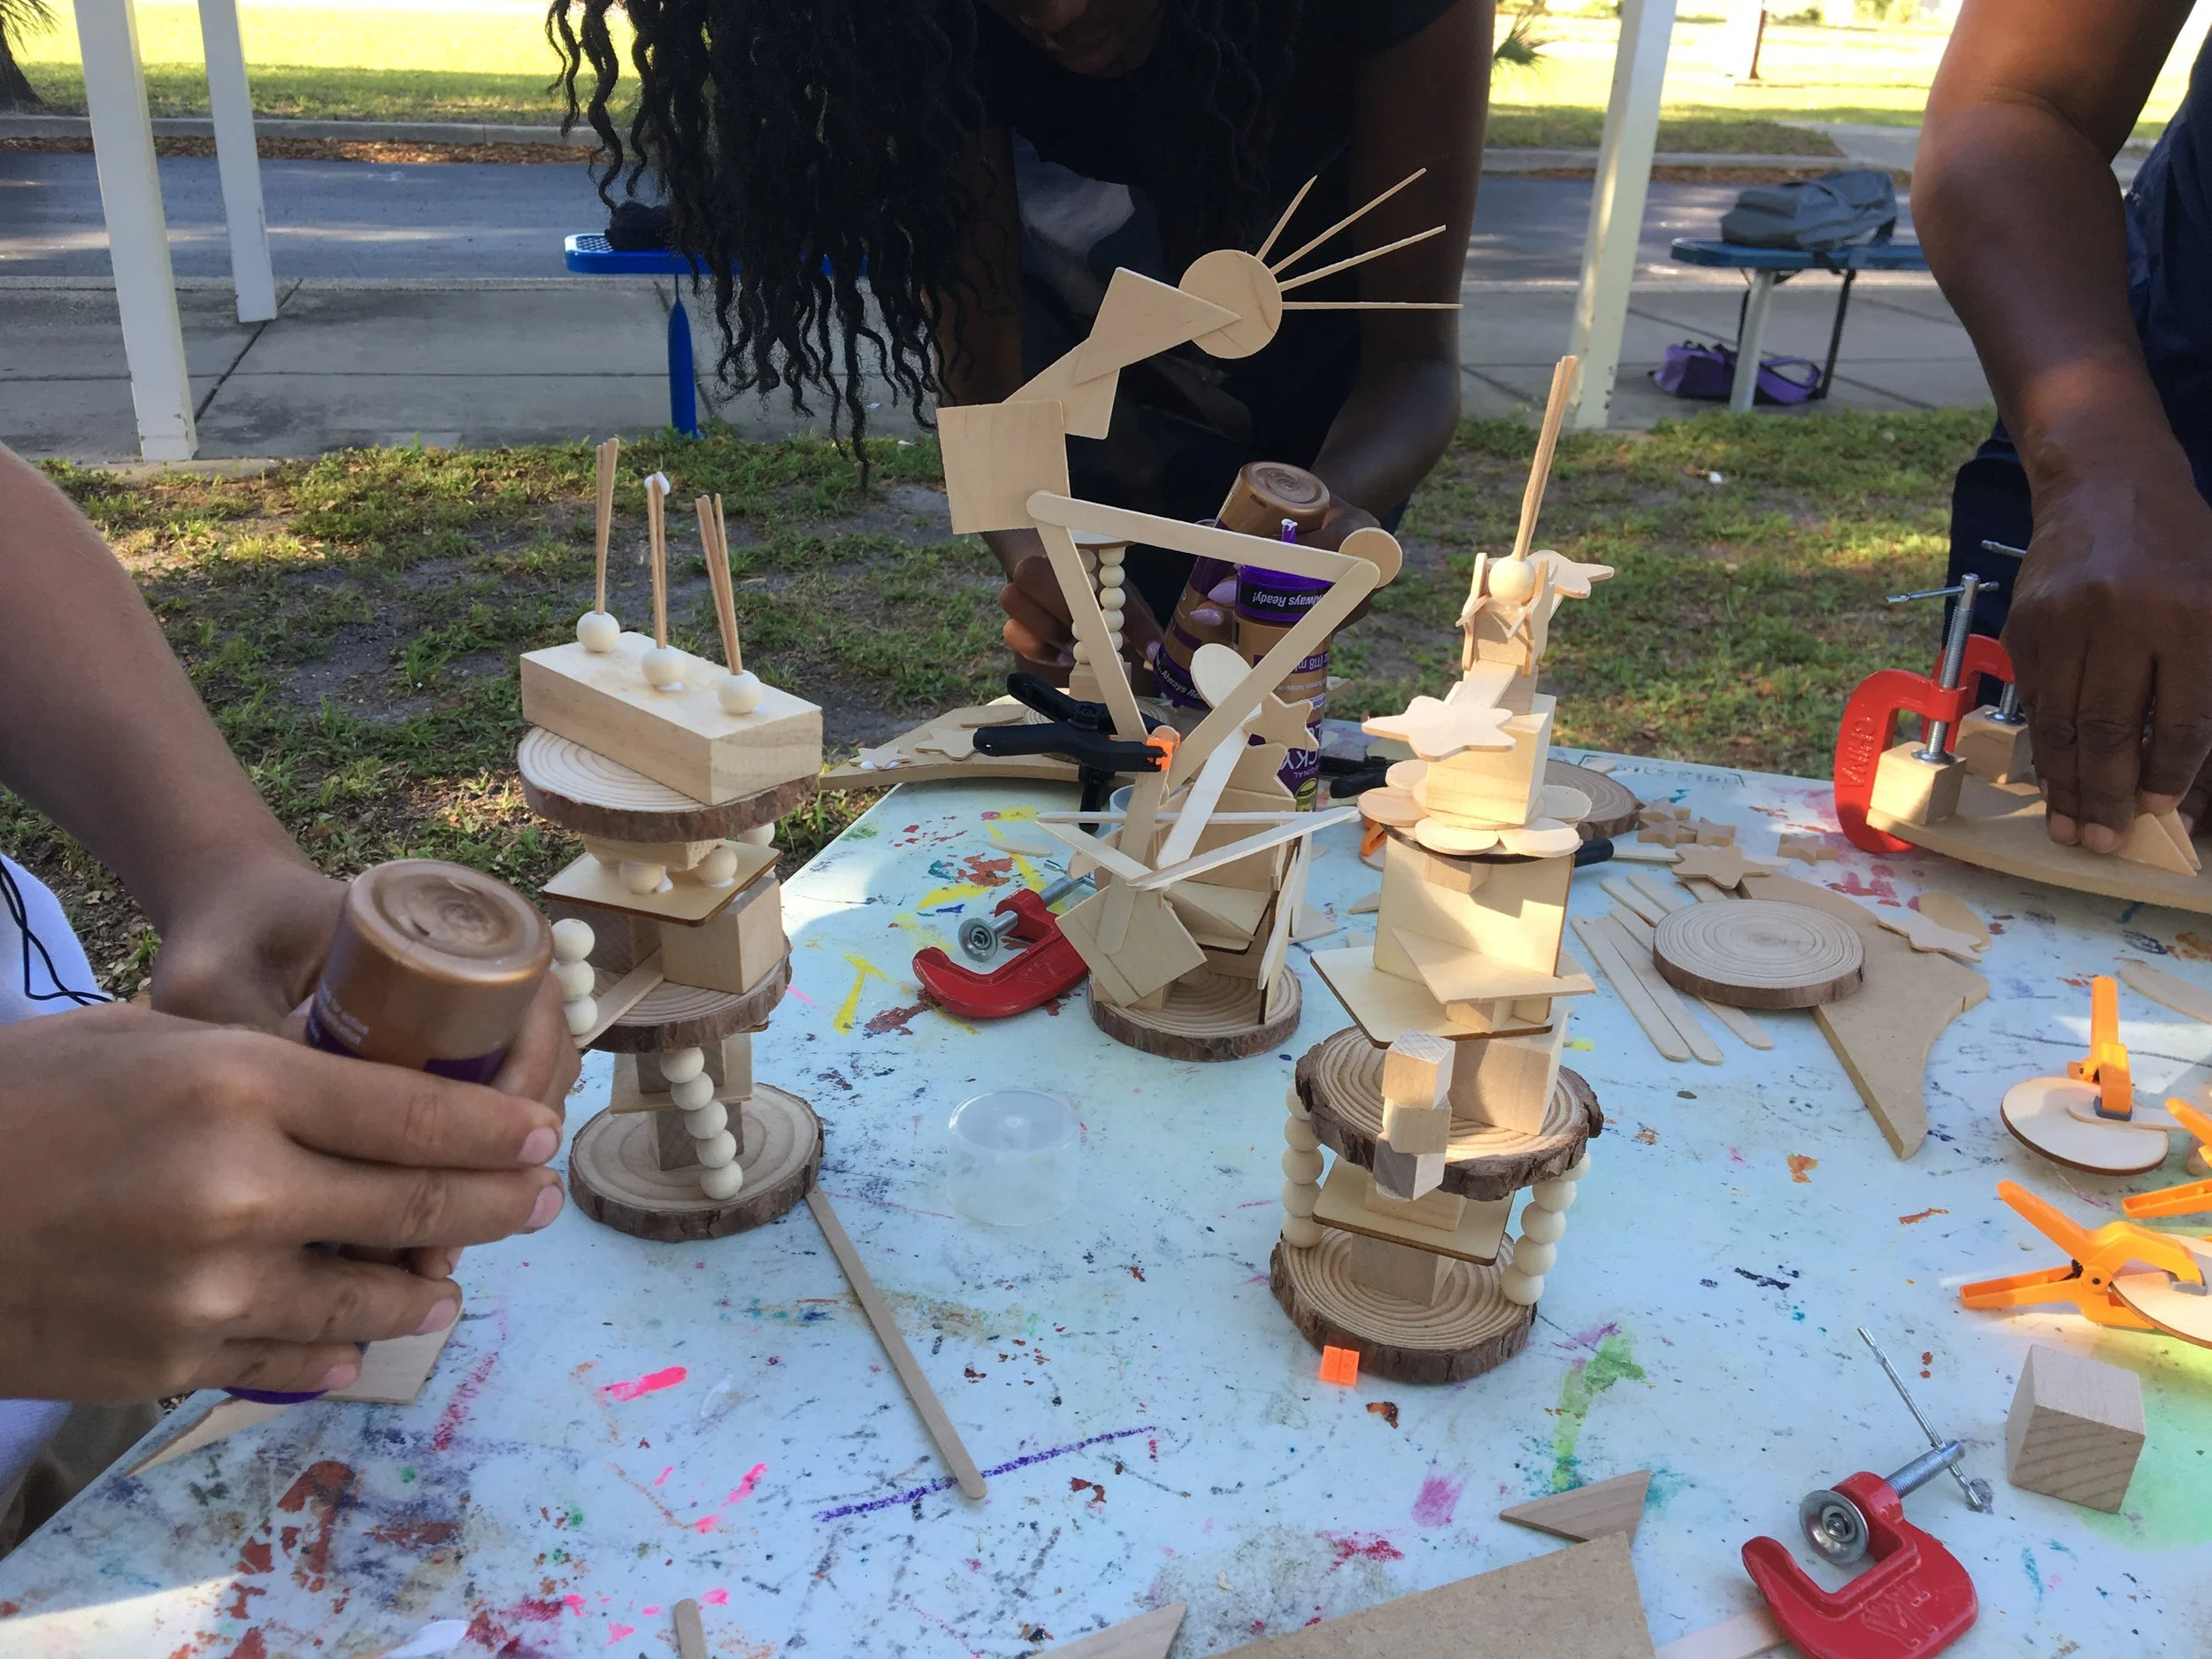
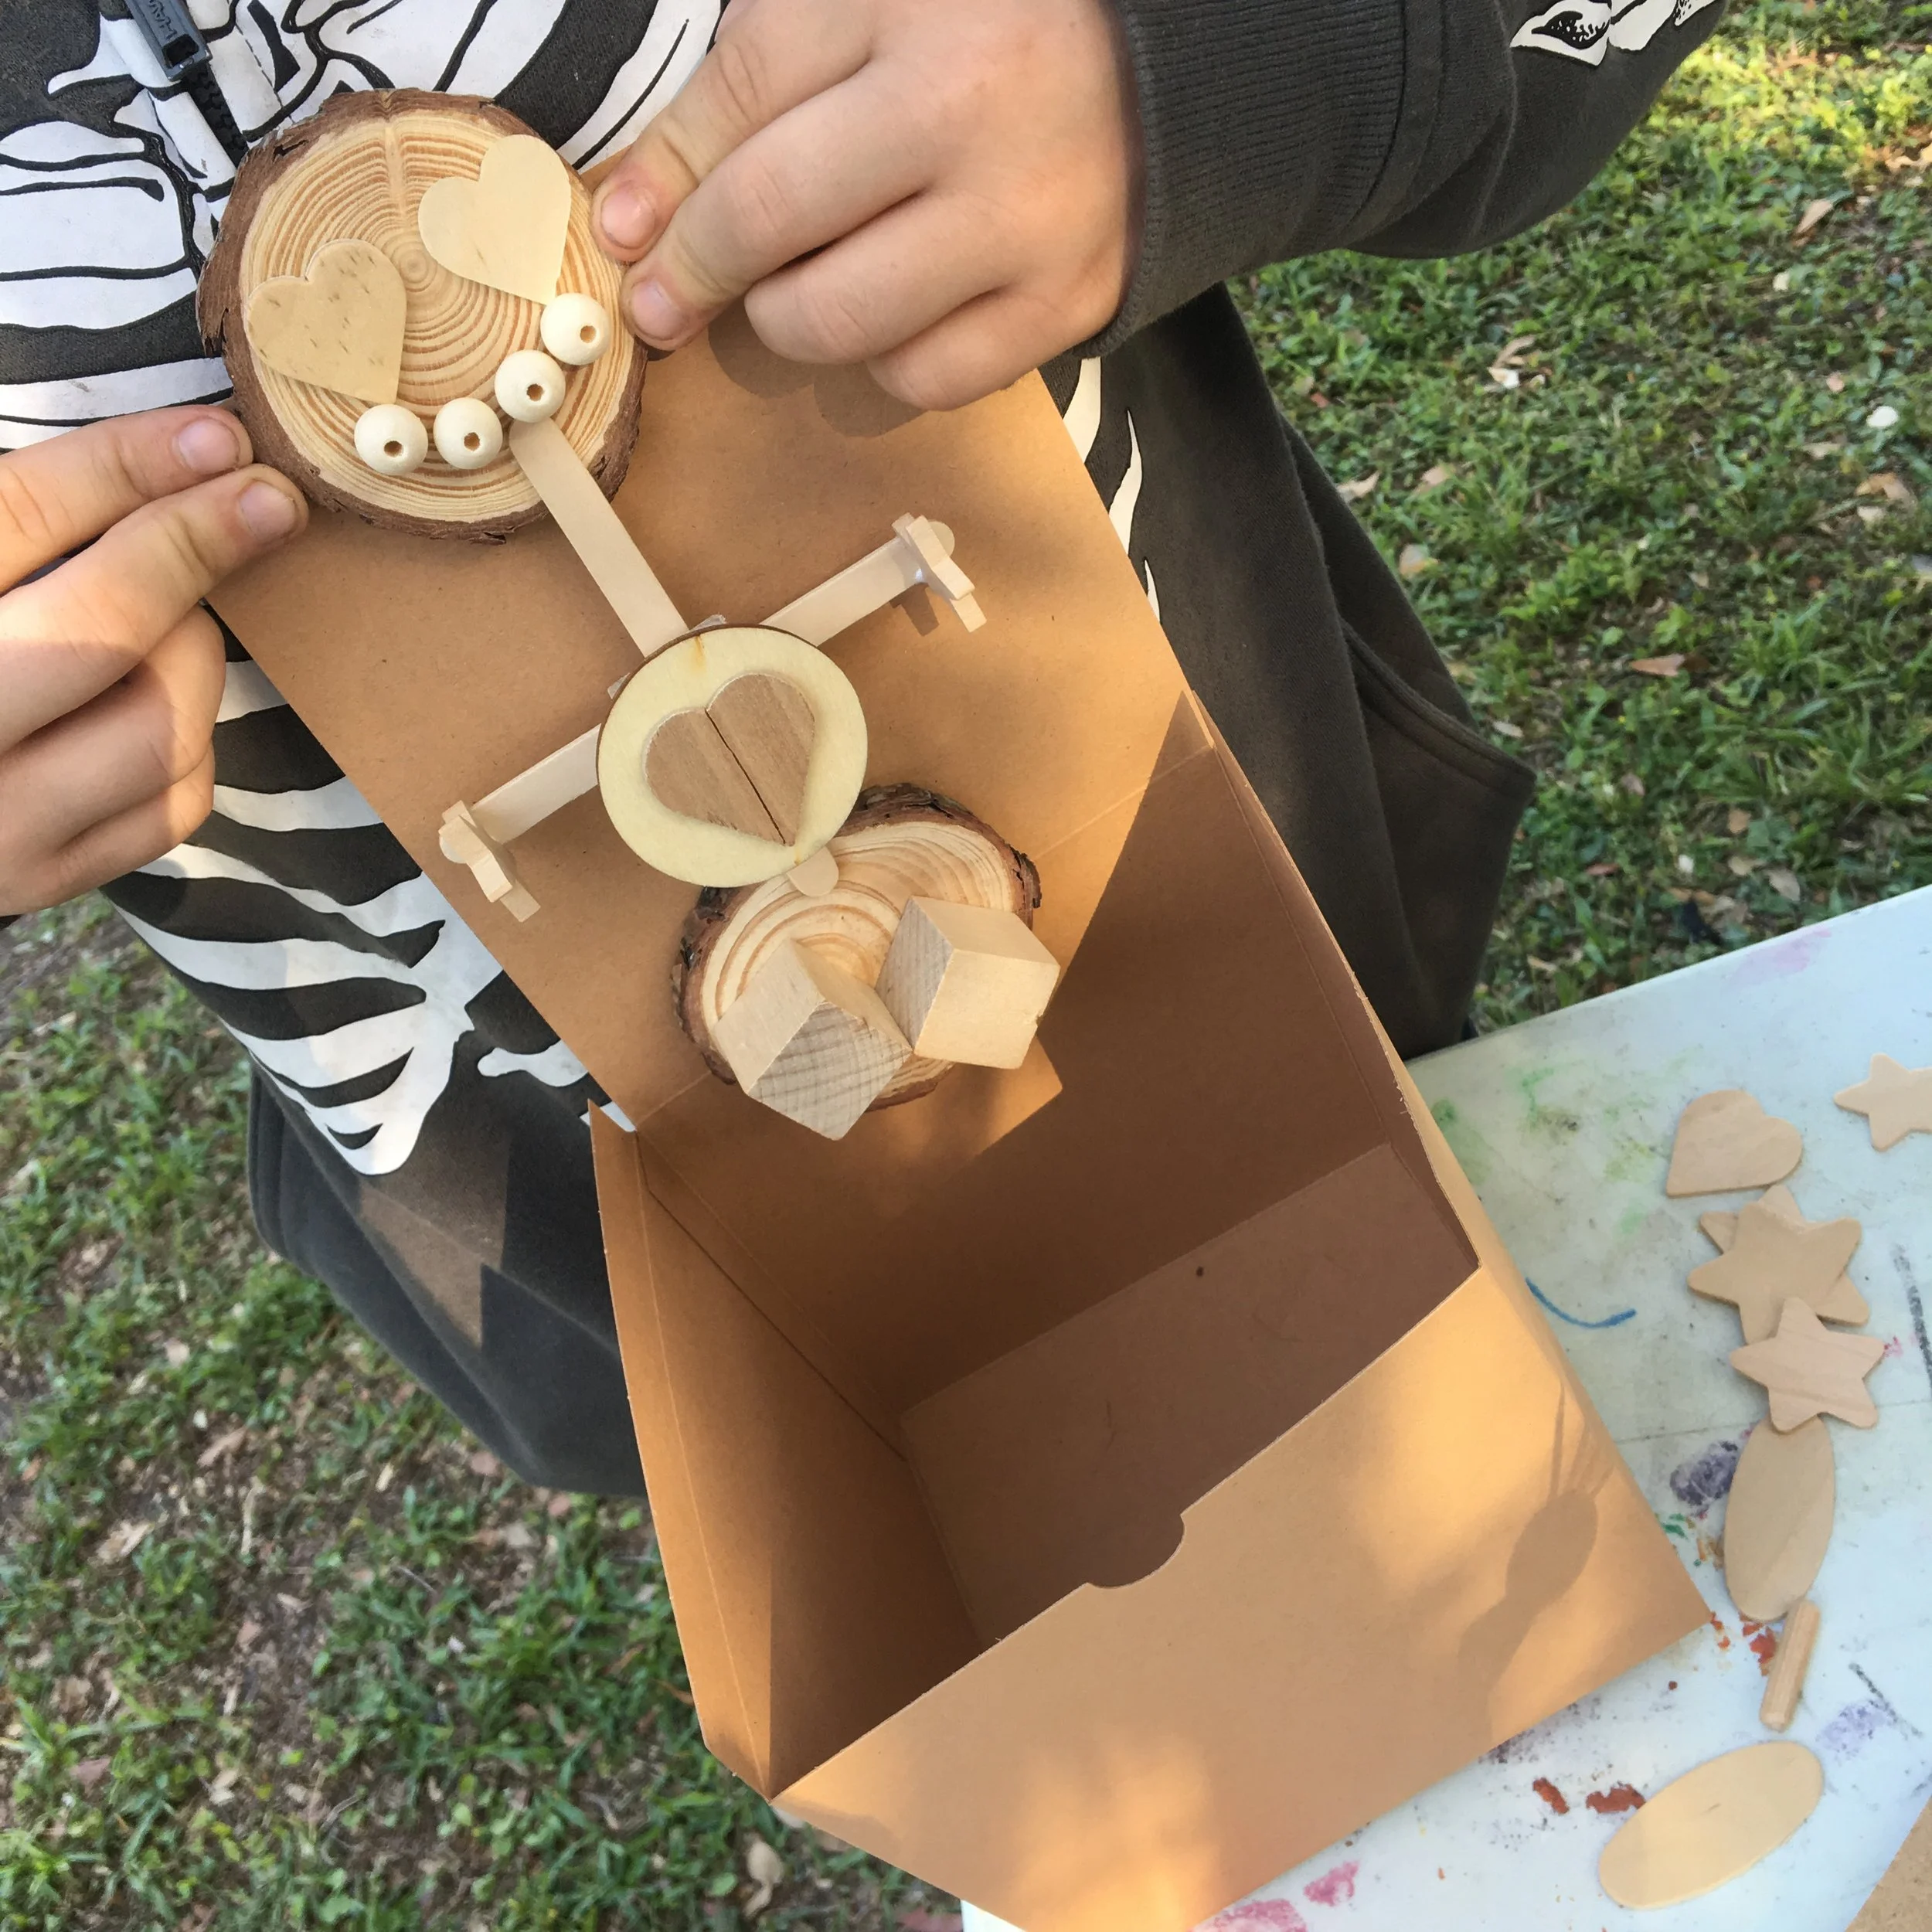
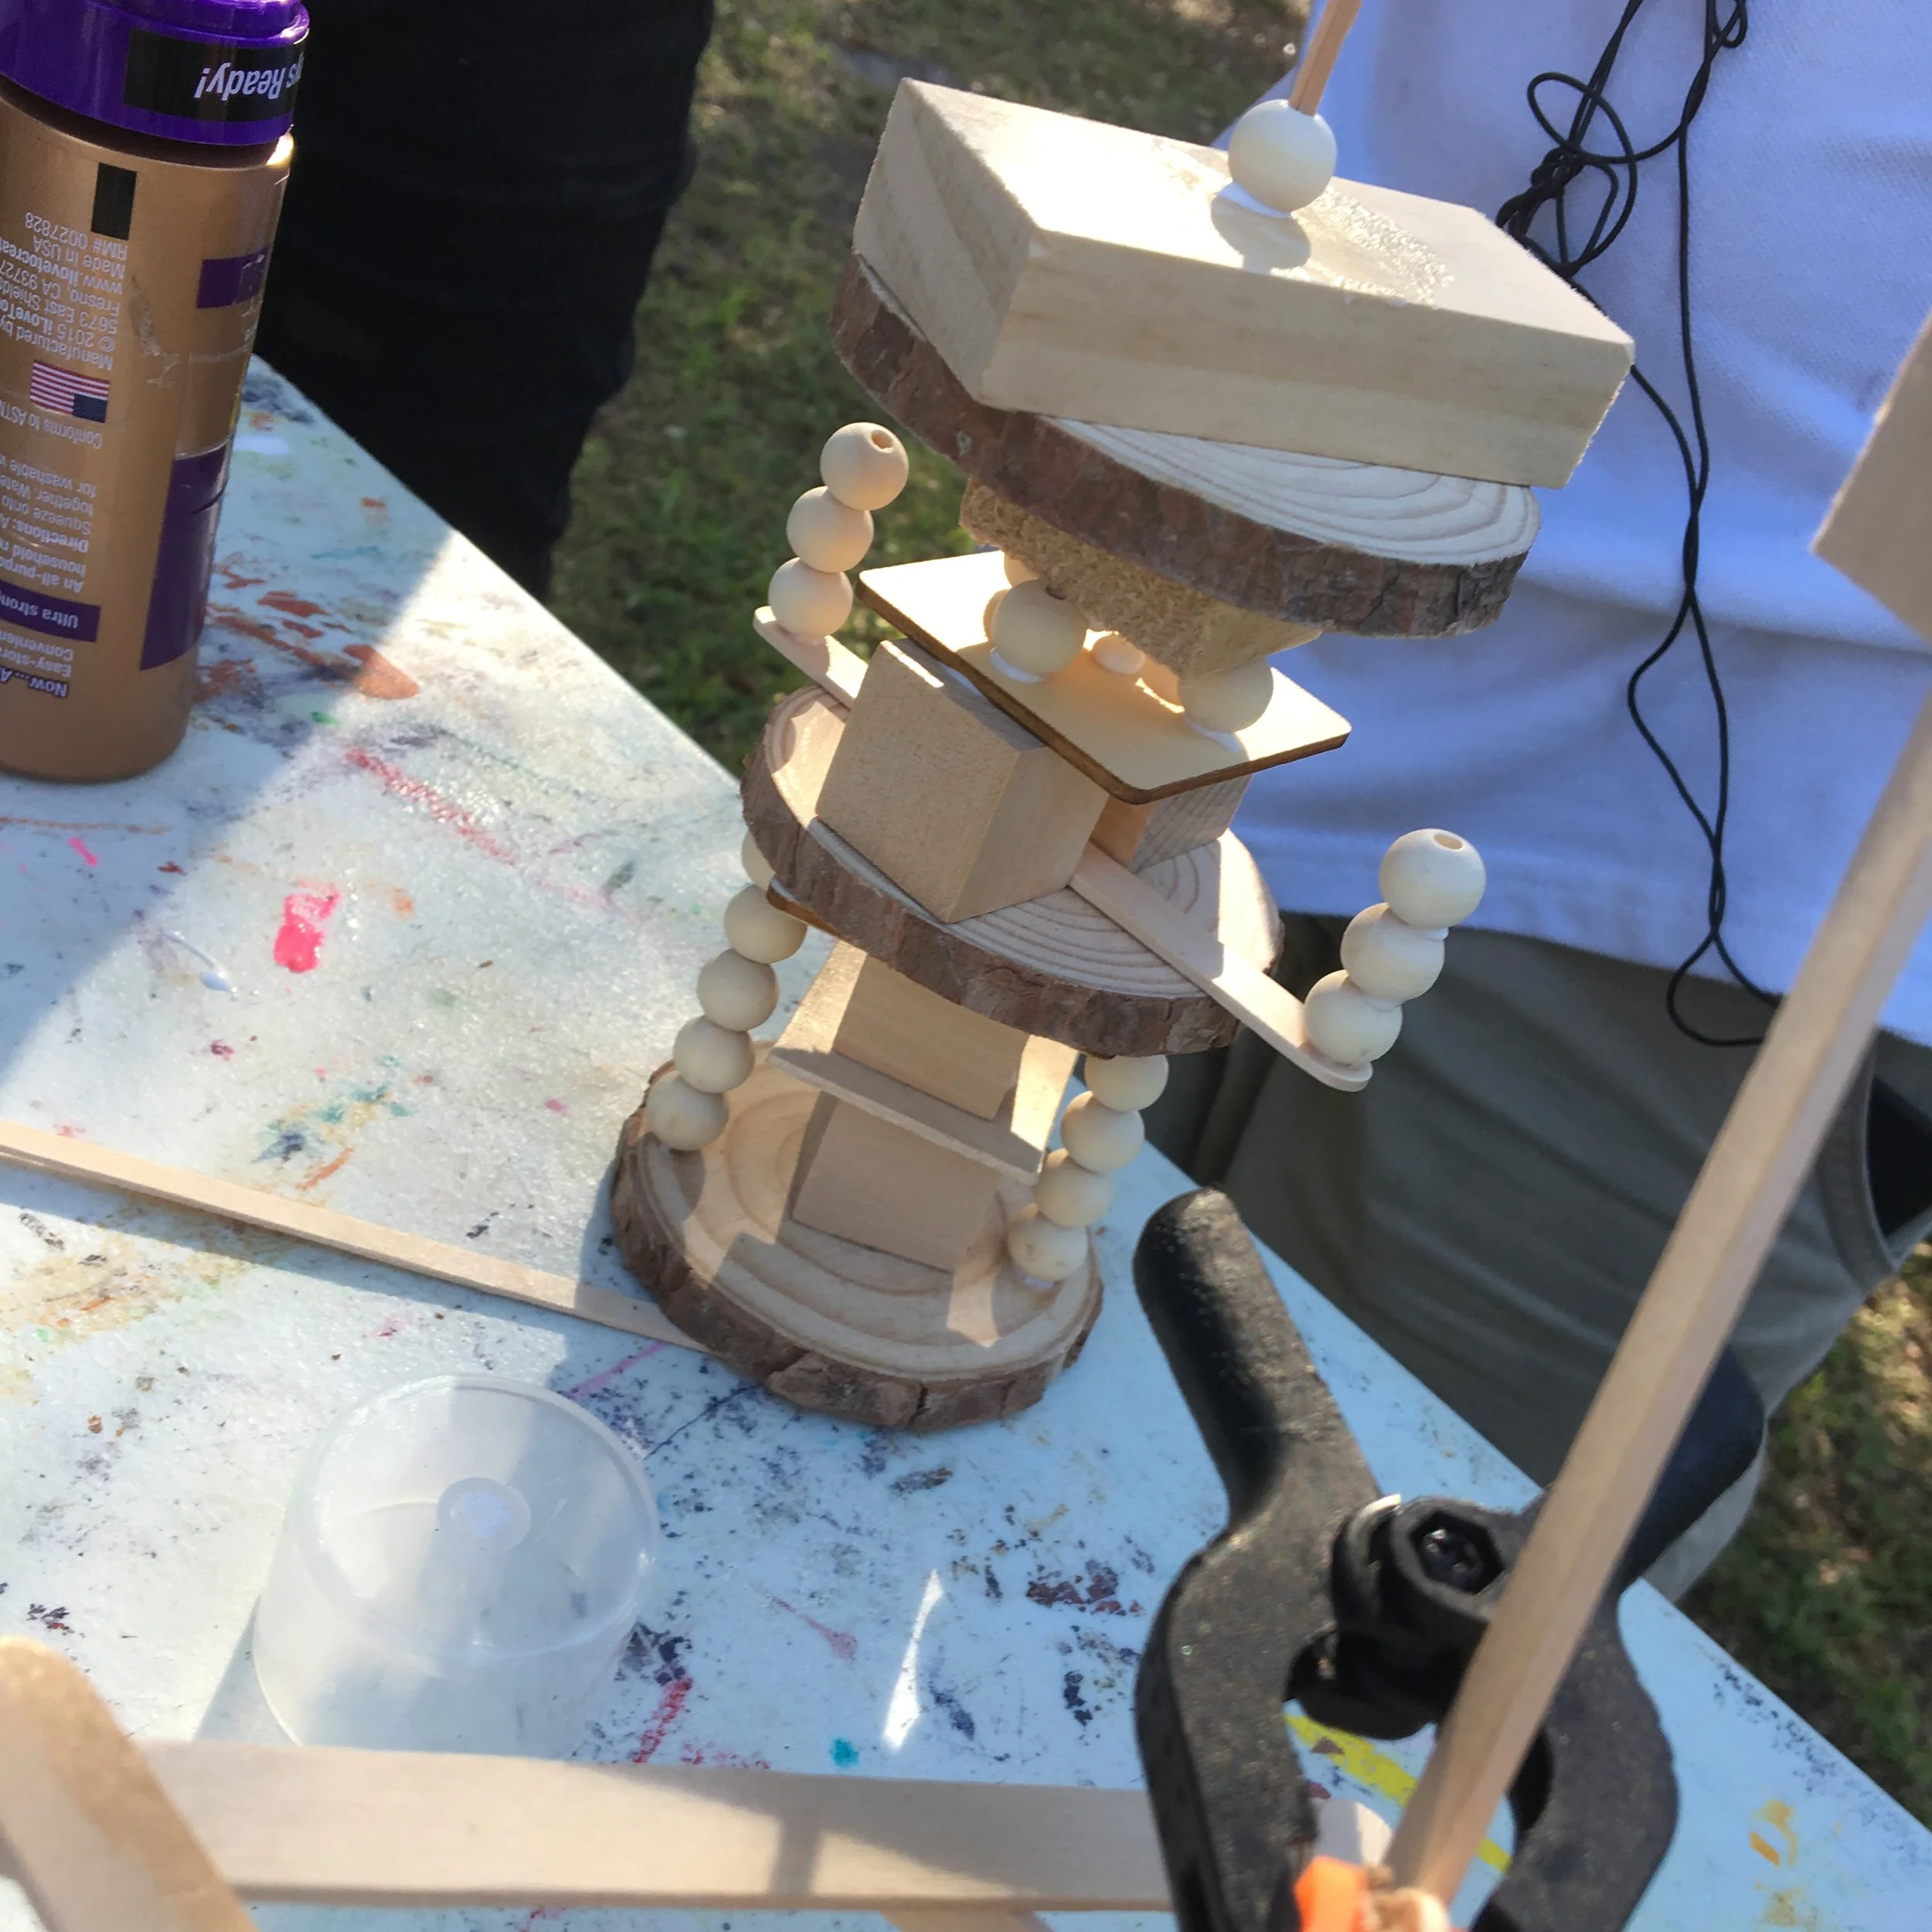
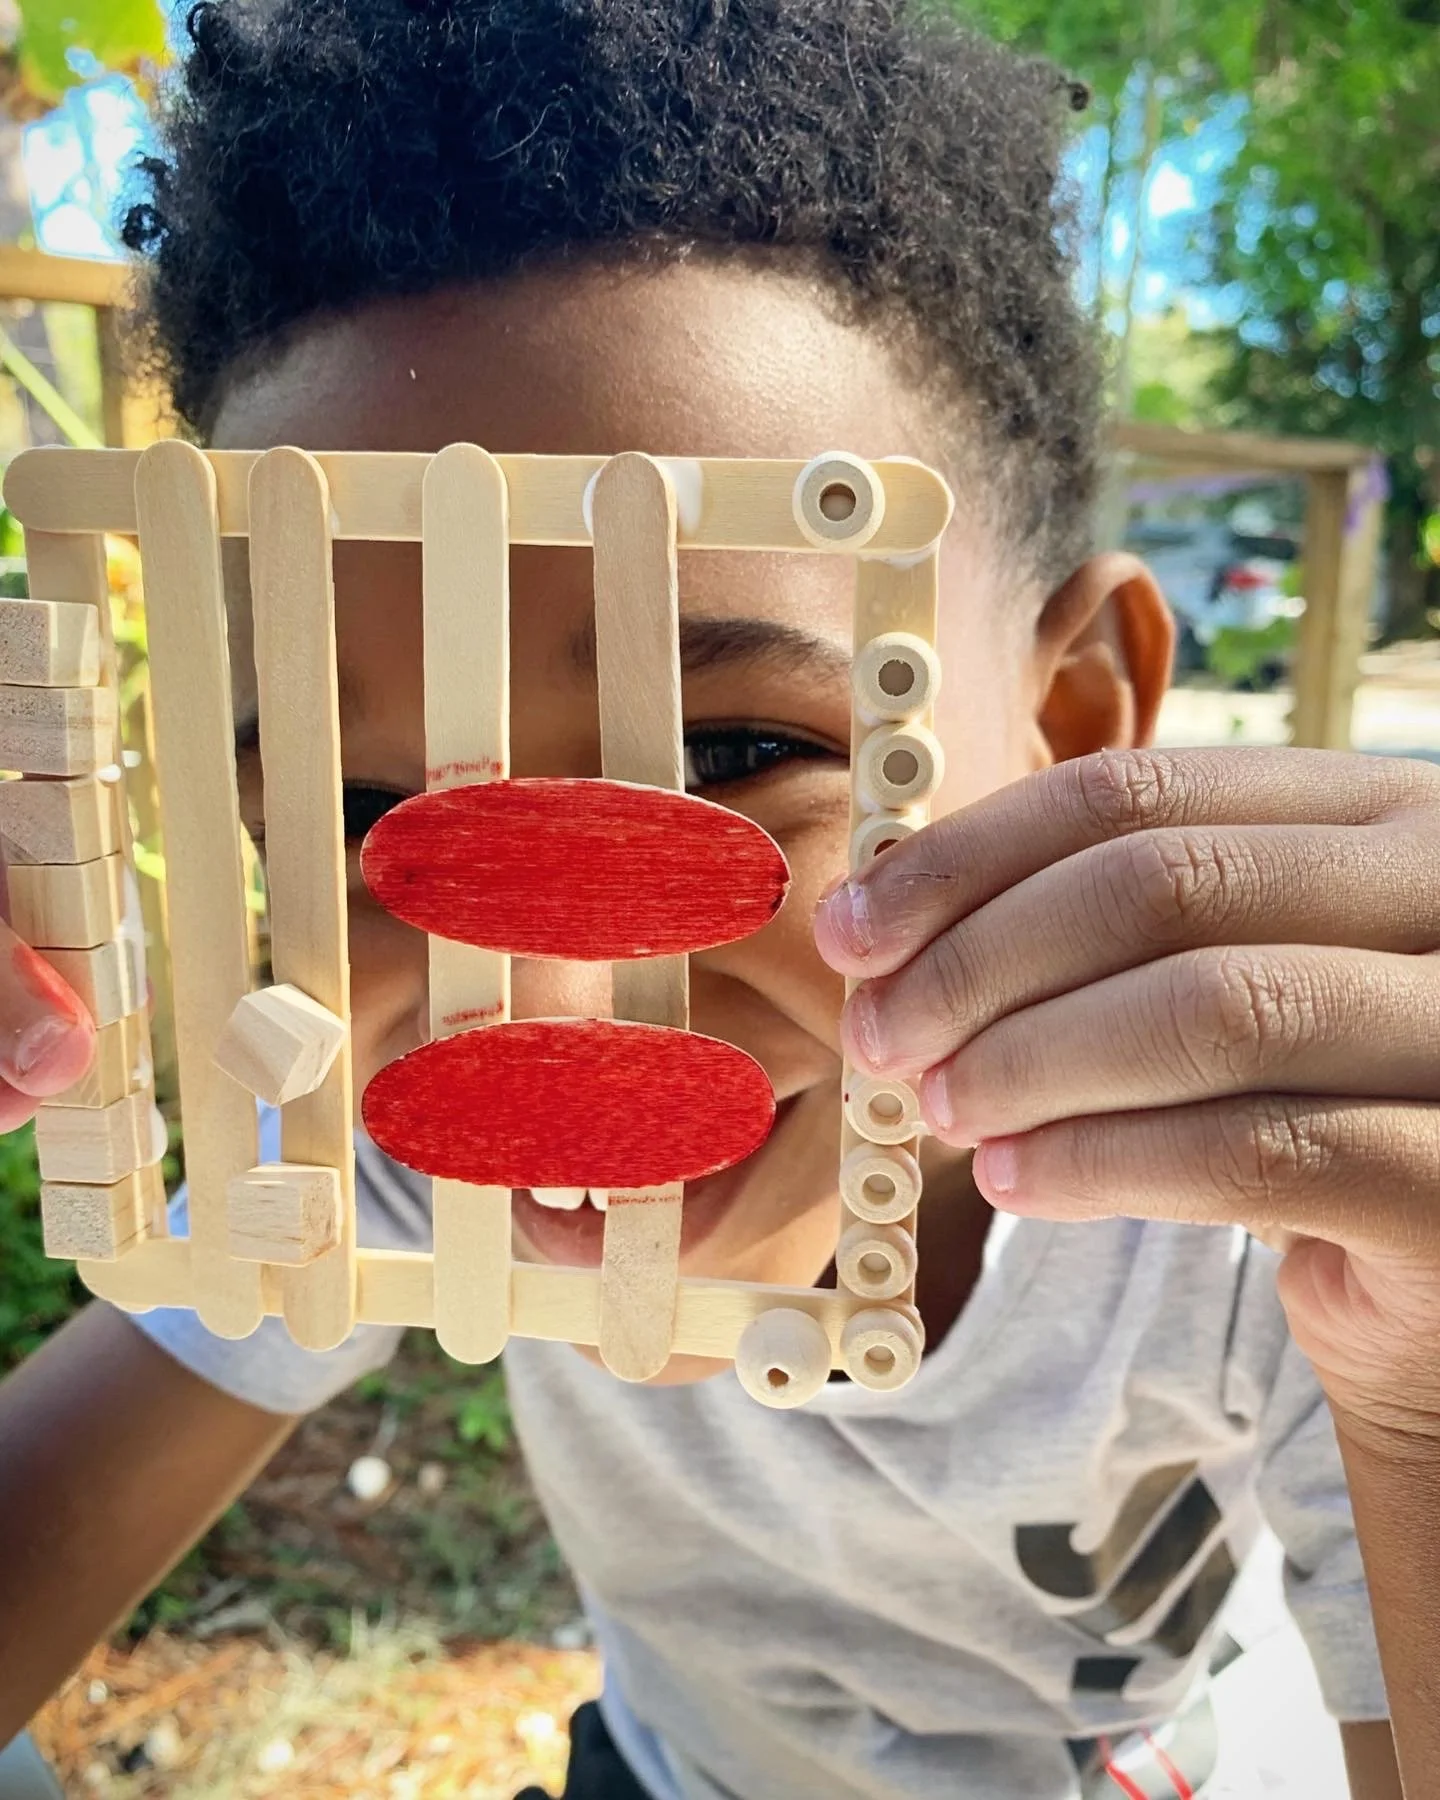
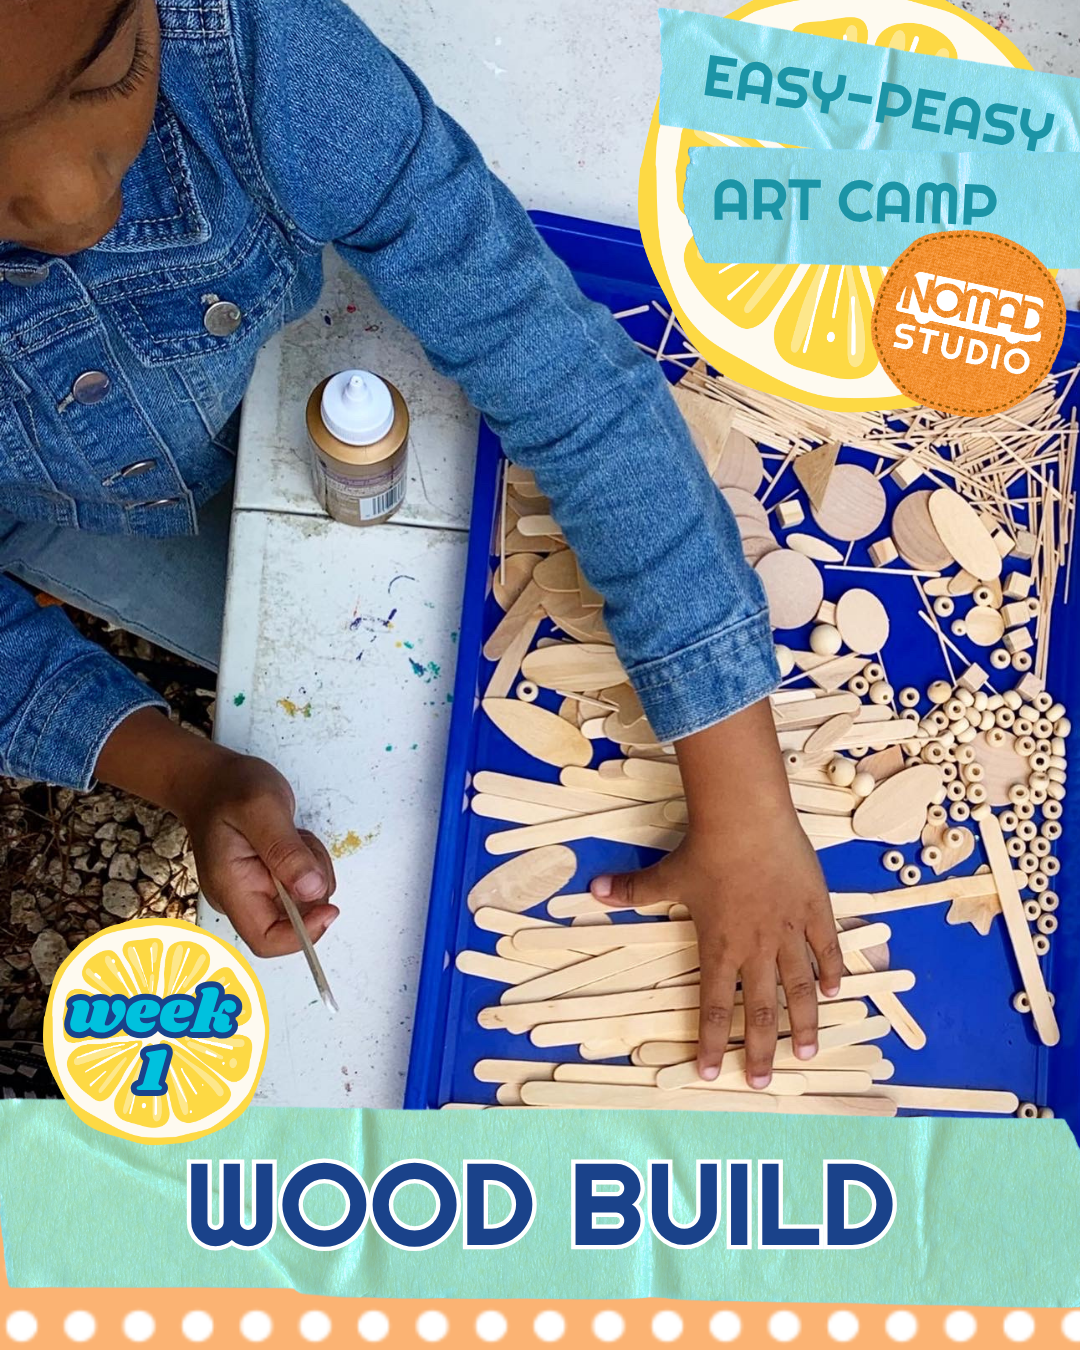
Wood Build is an open‑ended art activity where children use small wood items and glue to build their own structures, sculptures, or designs. There is no “right” result—the focus is on creativity, problem‑solving, and exploration.
What you’ll provide:
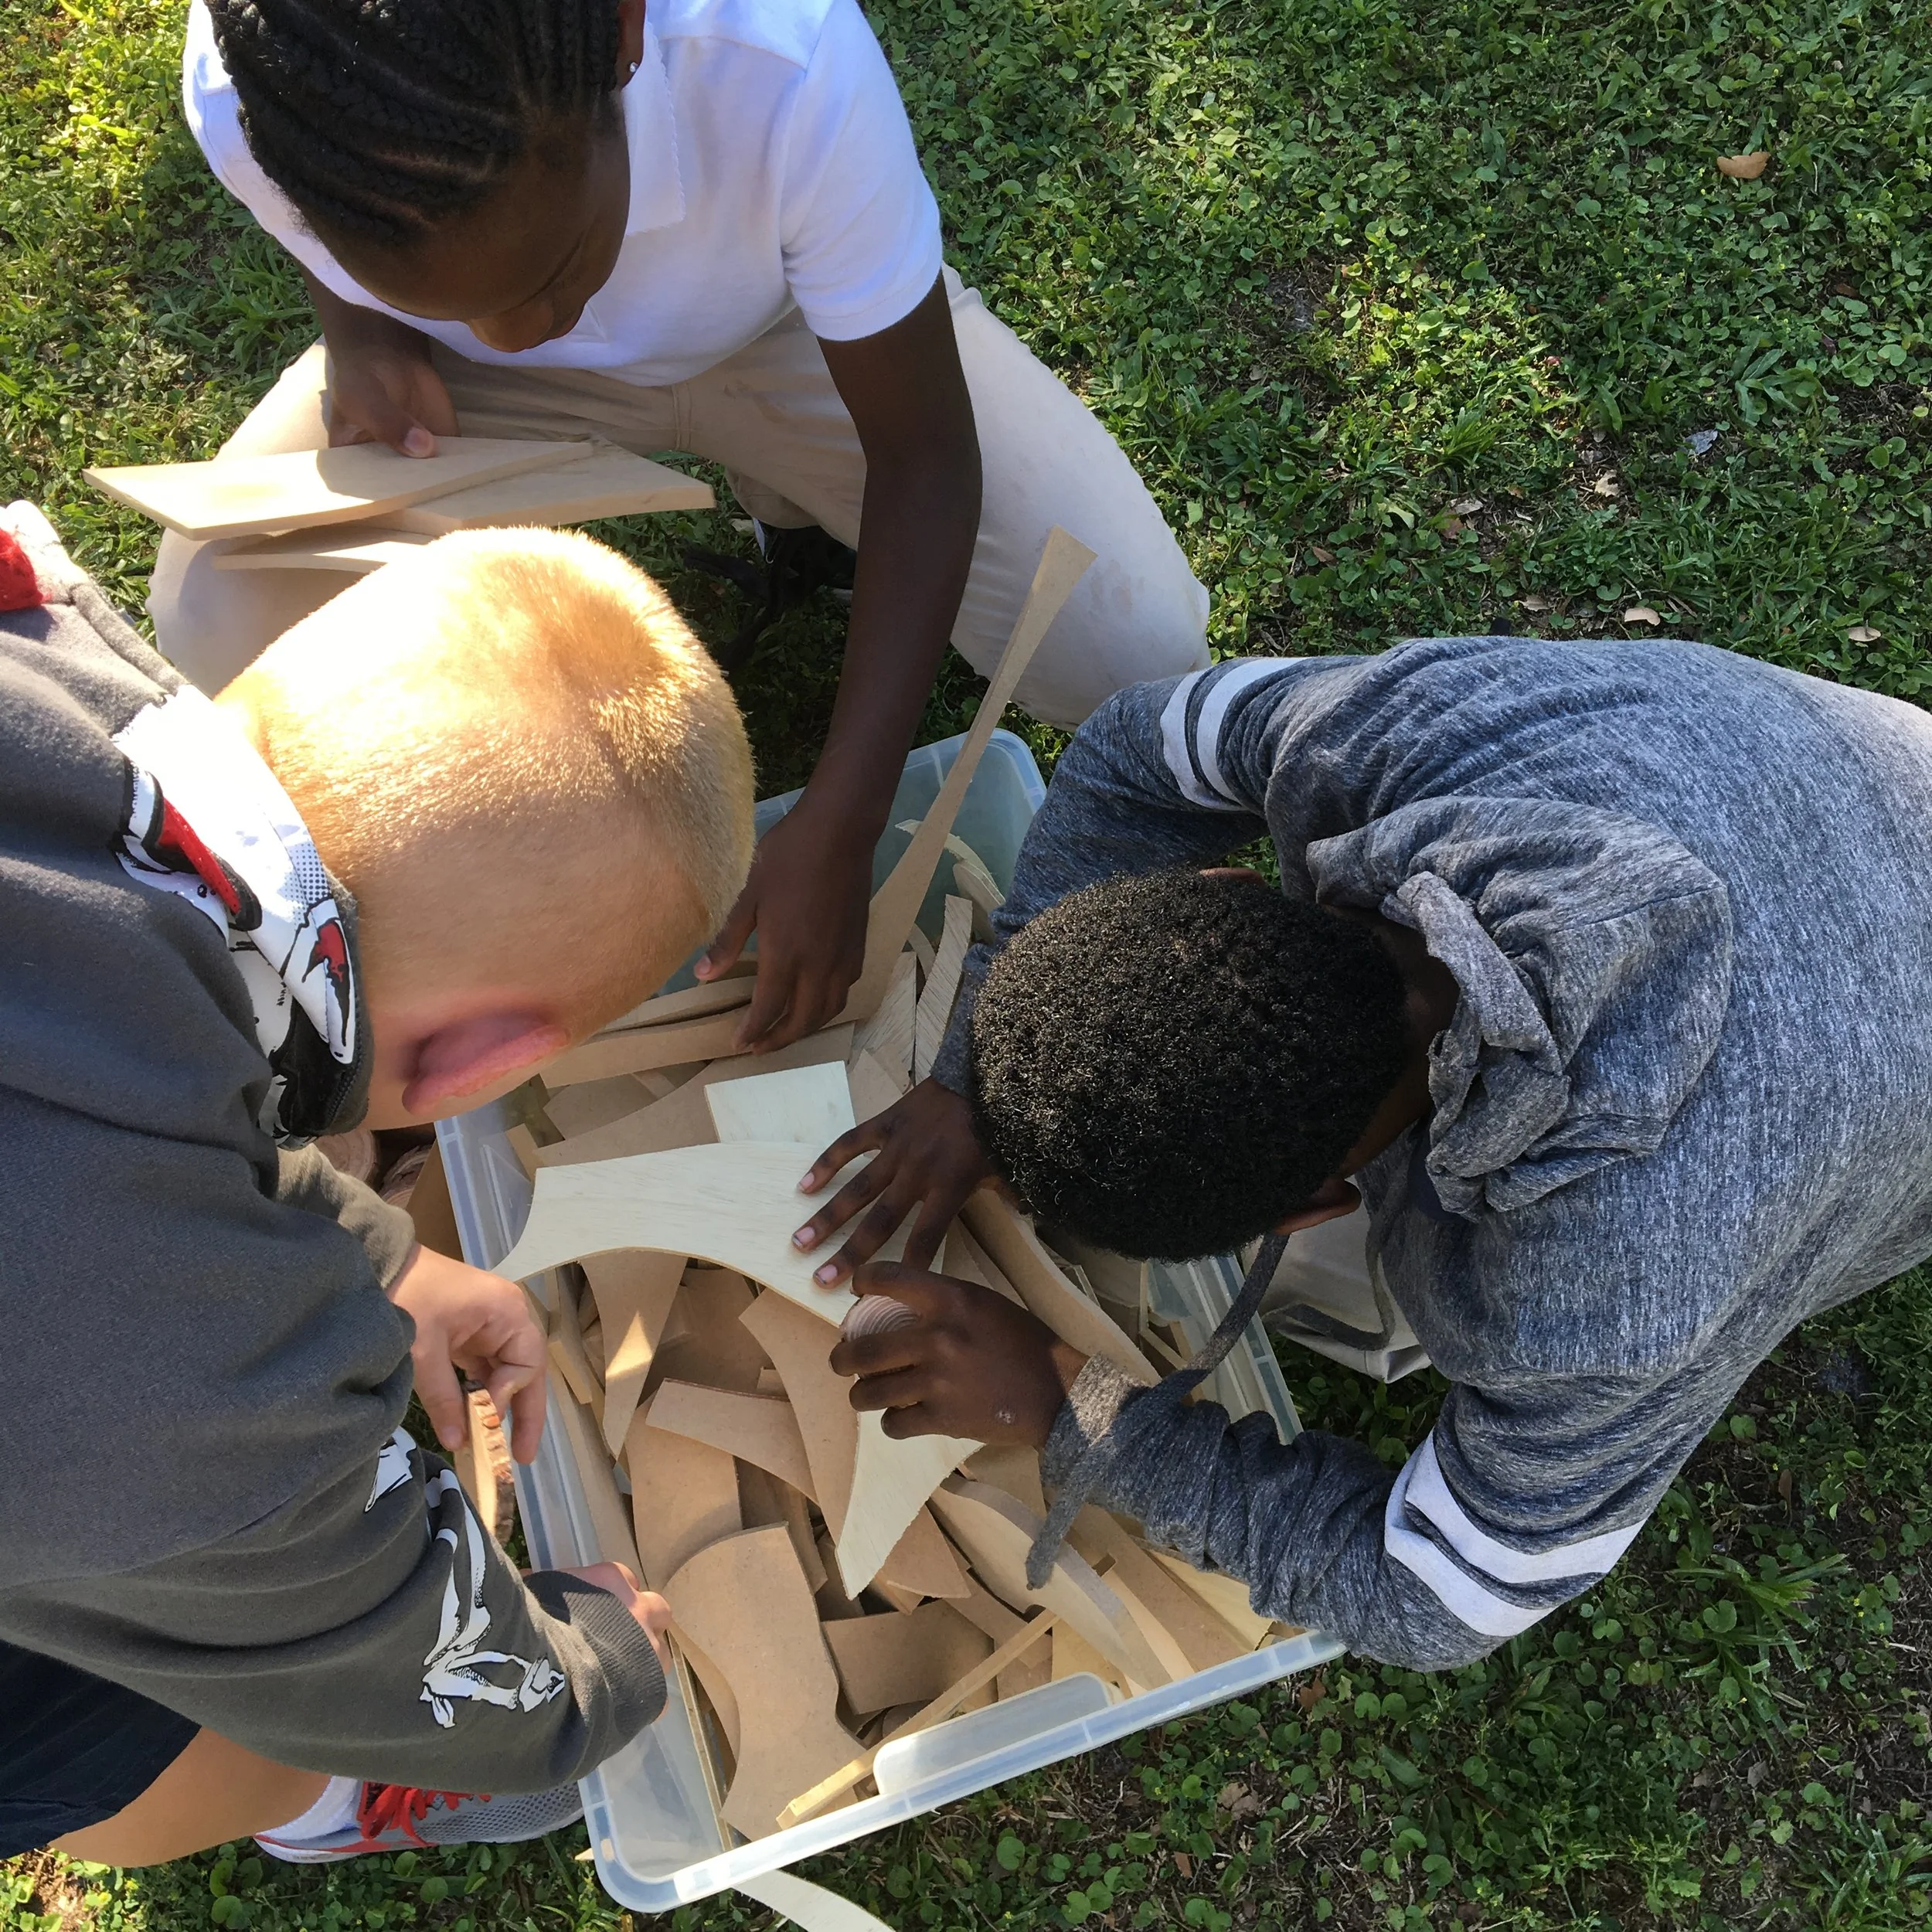
Small wooden items (popsicle sticks, wood scraps, toothpicks, bamboo chopsticks, wooden shapes or beads)
Popsicle stick or craft stick to use as a glue spatula
Shallow bowl or small cup to hold the glue
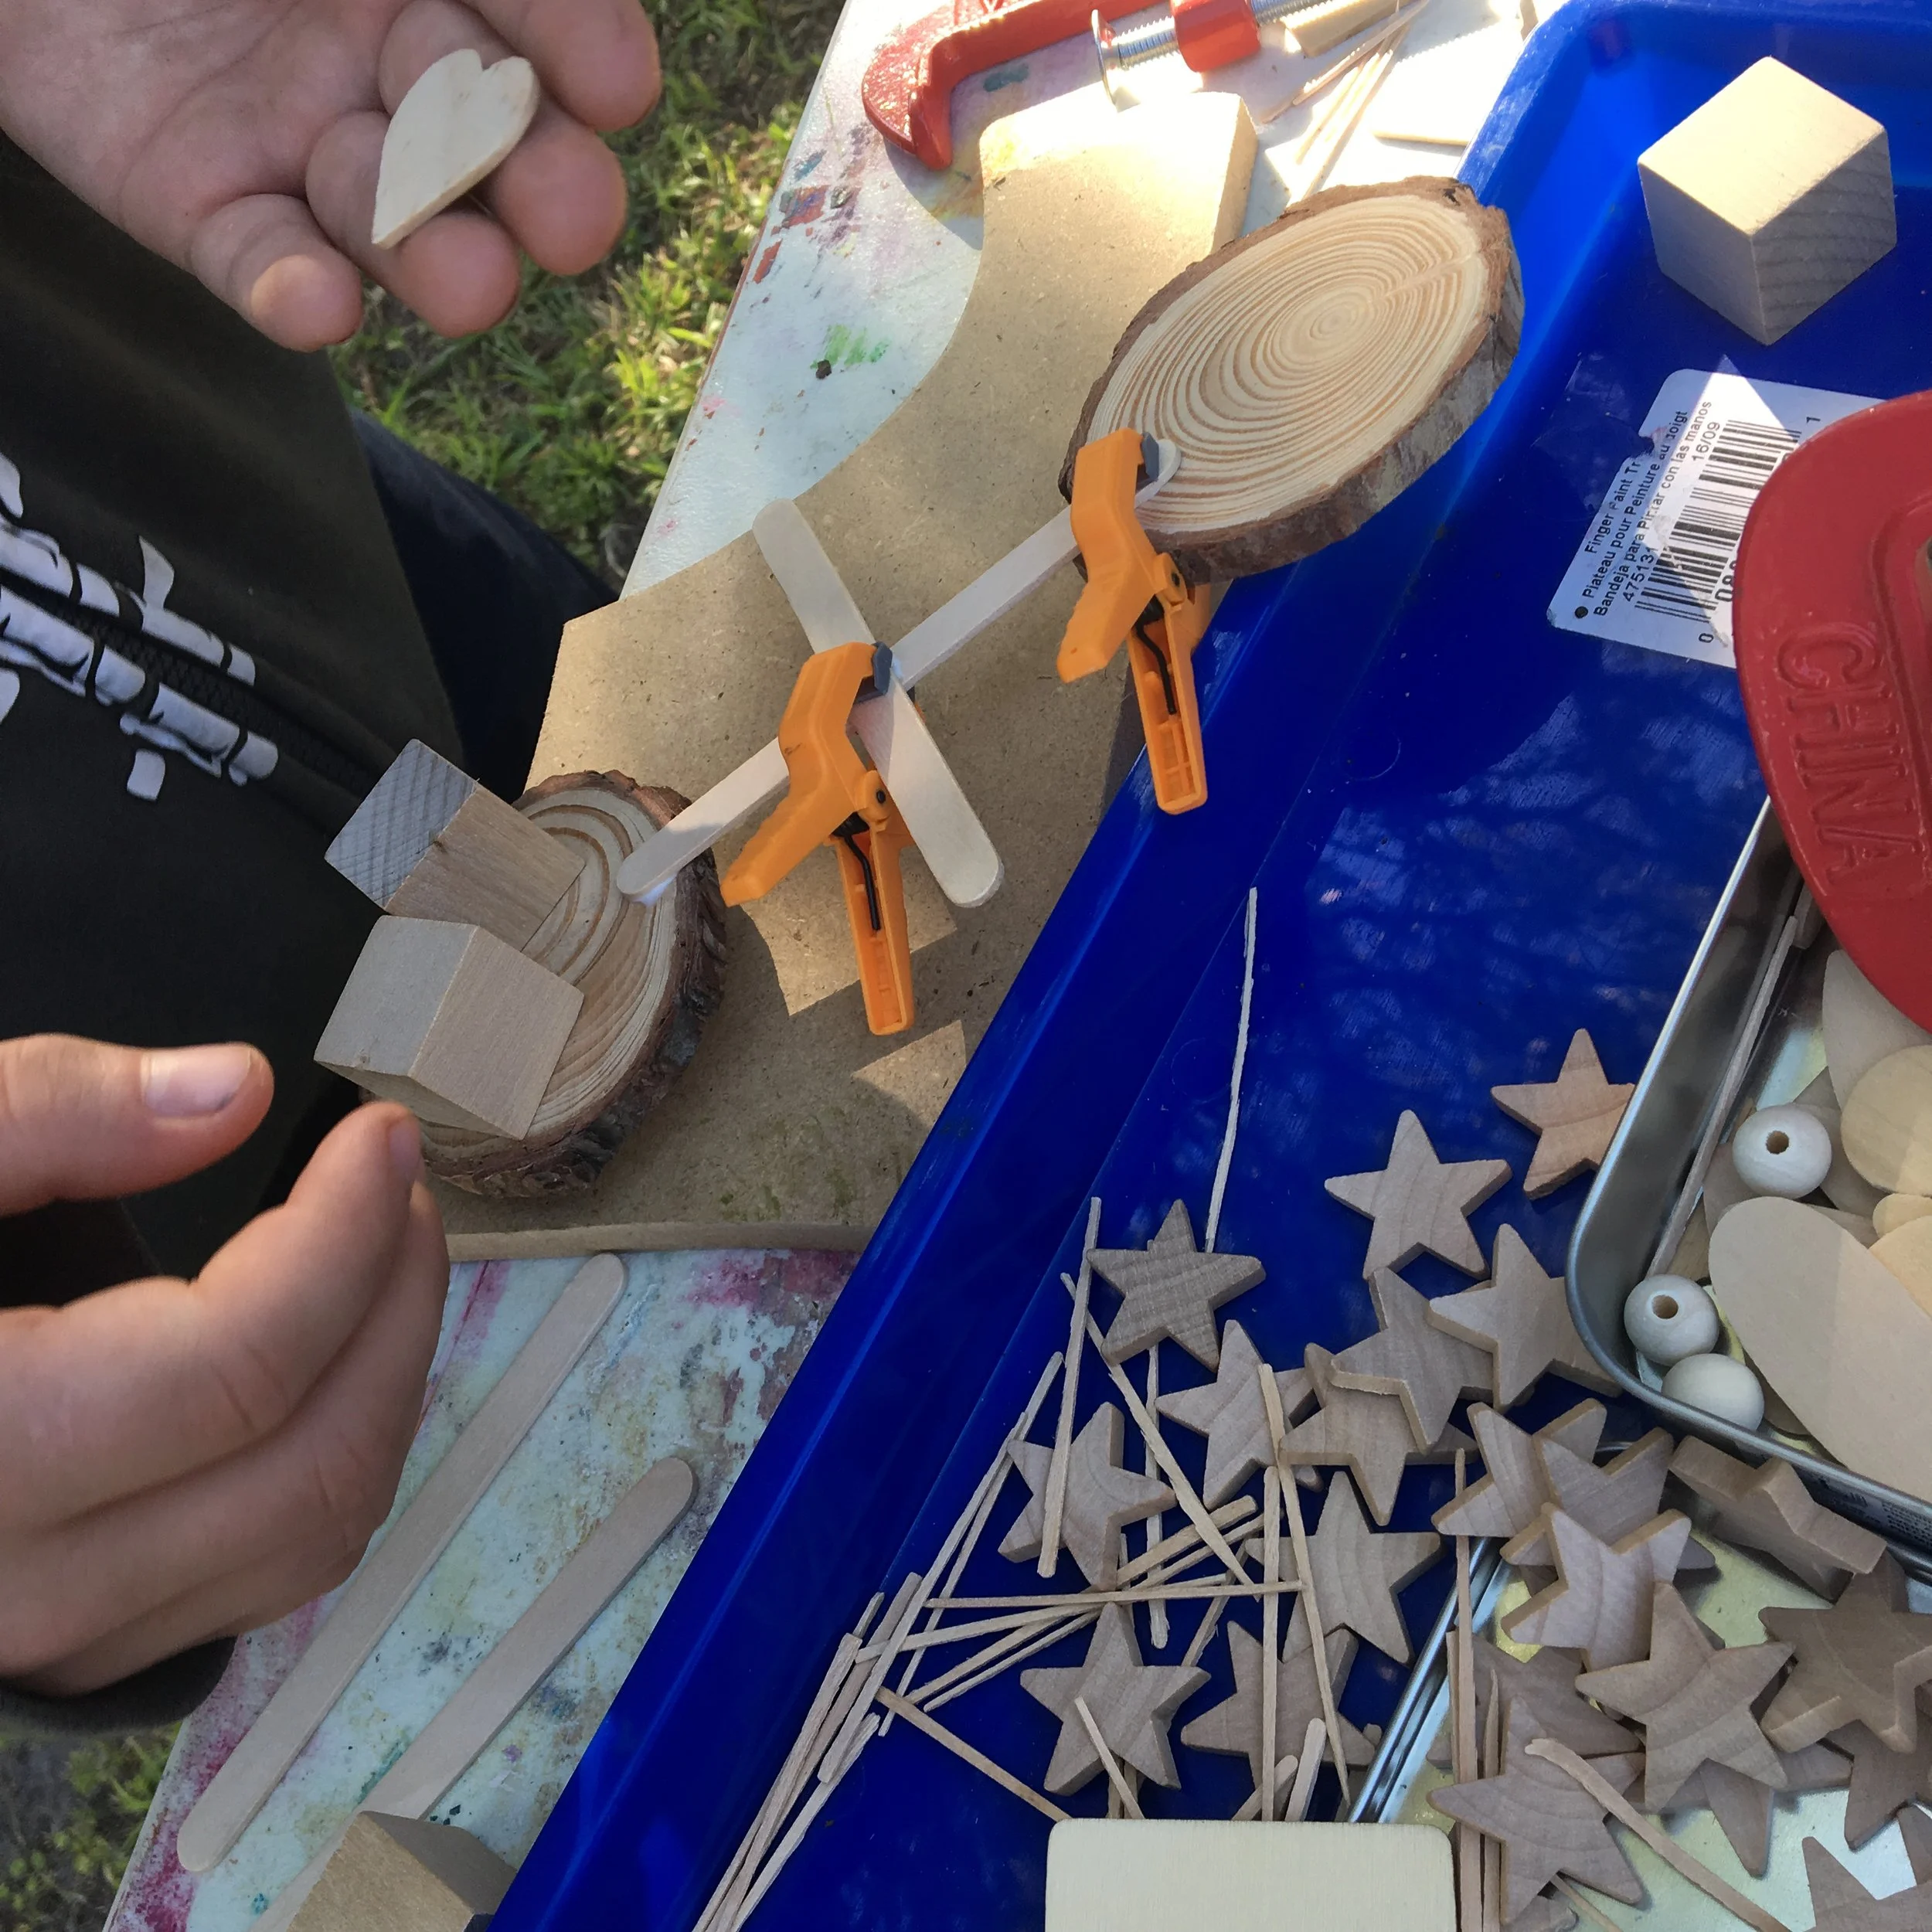
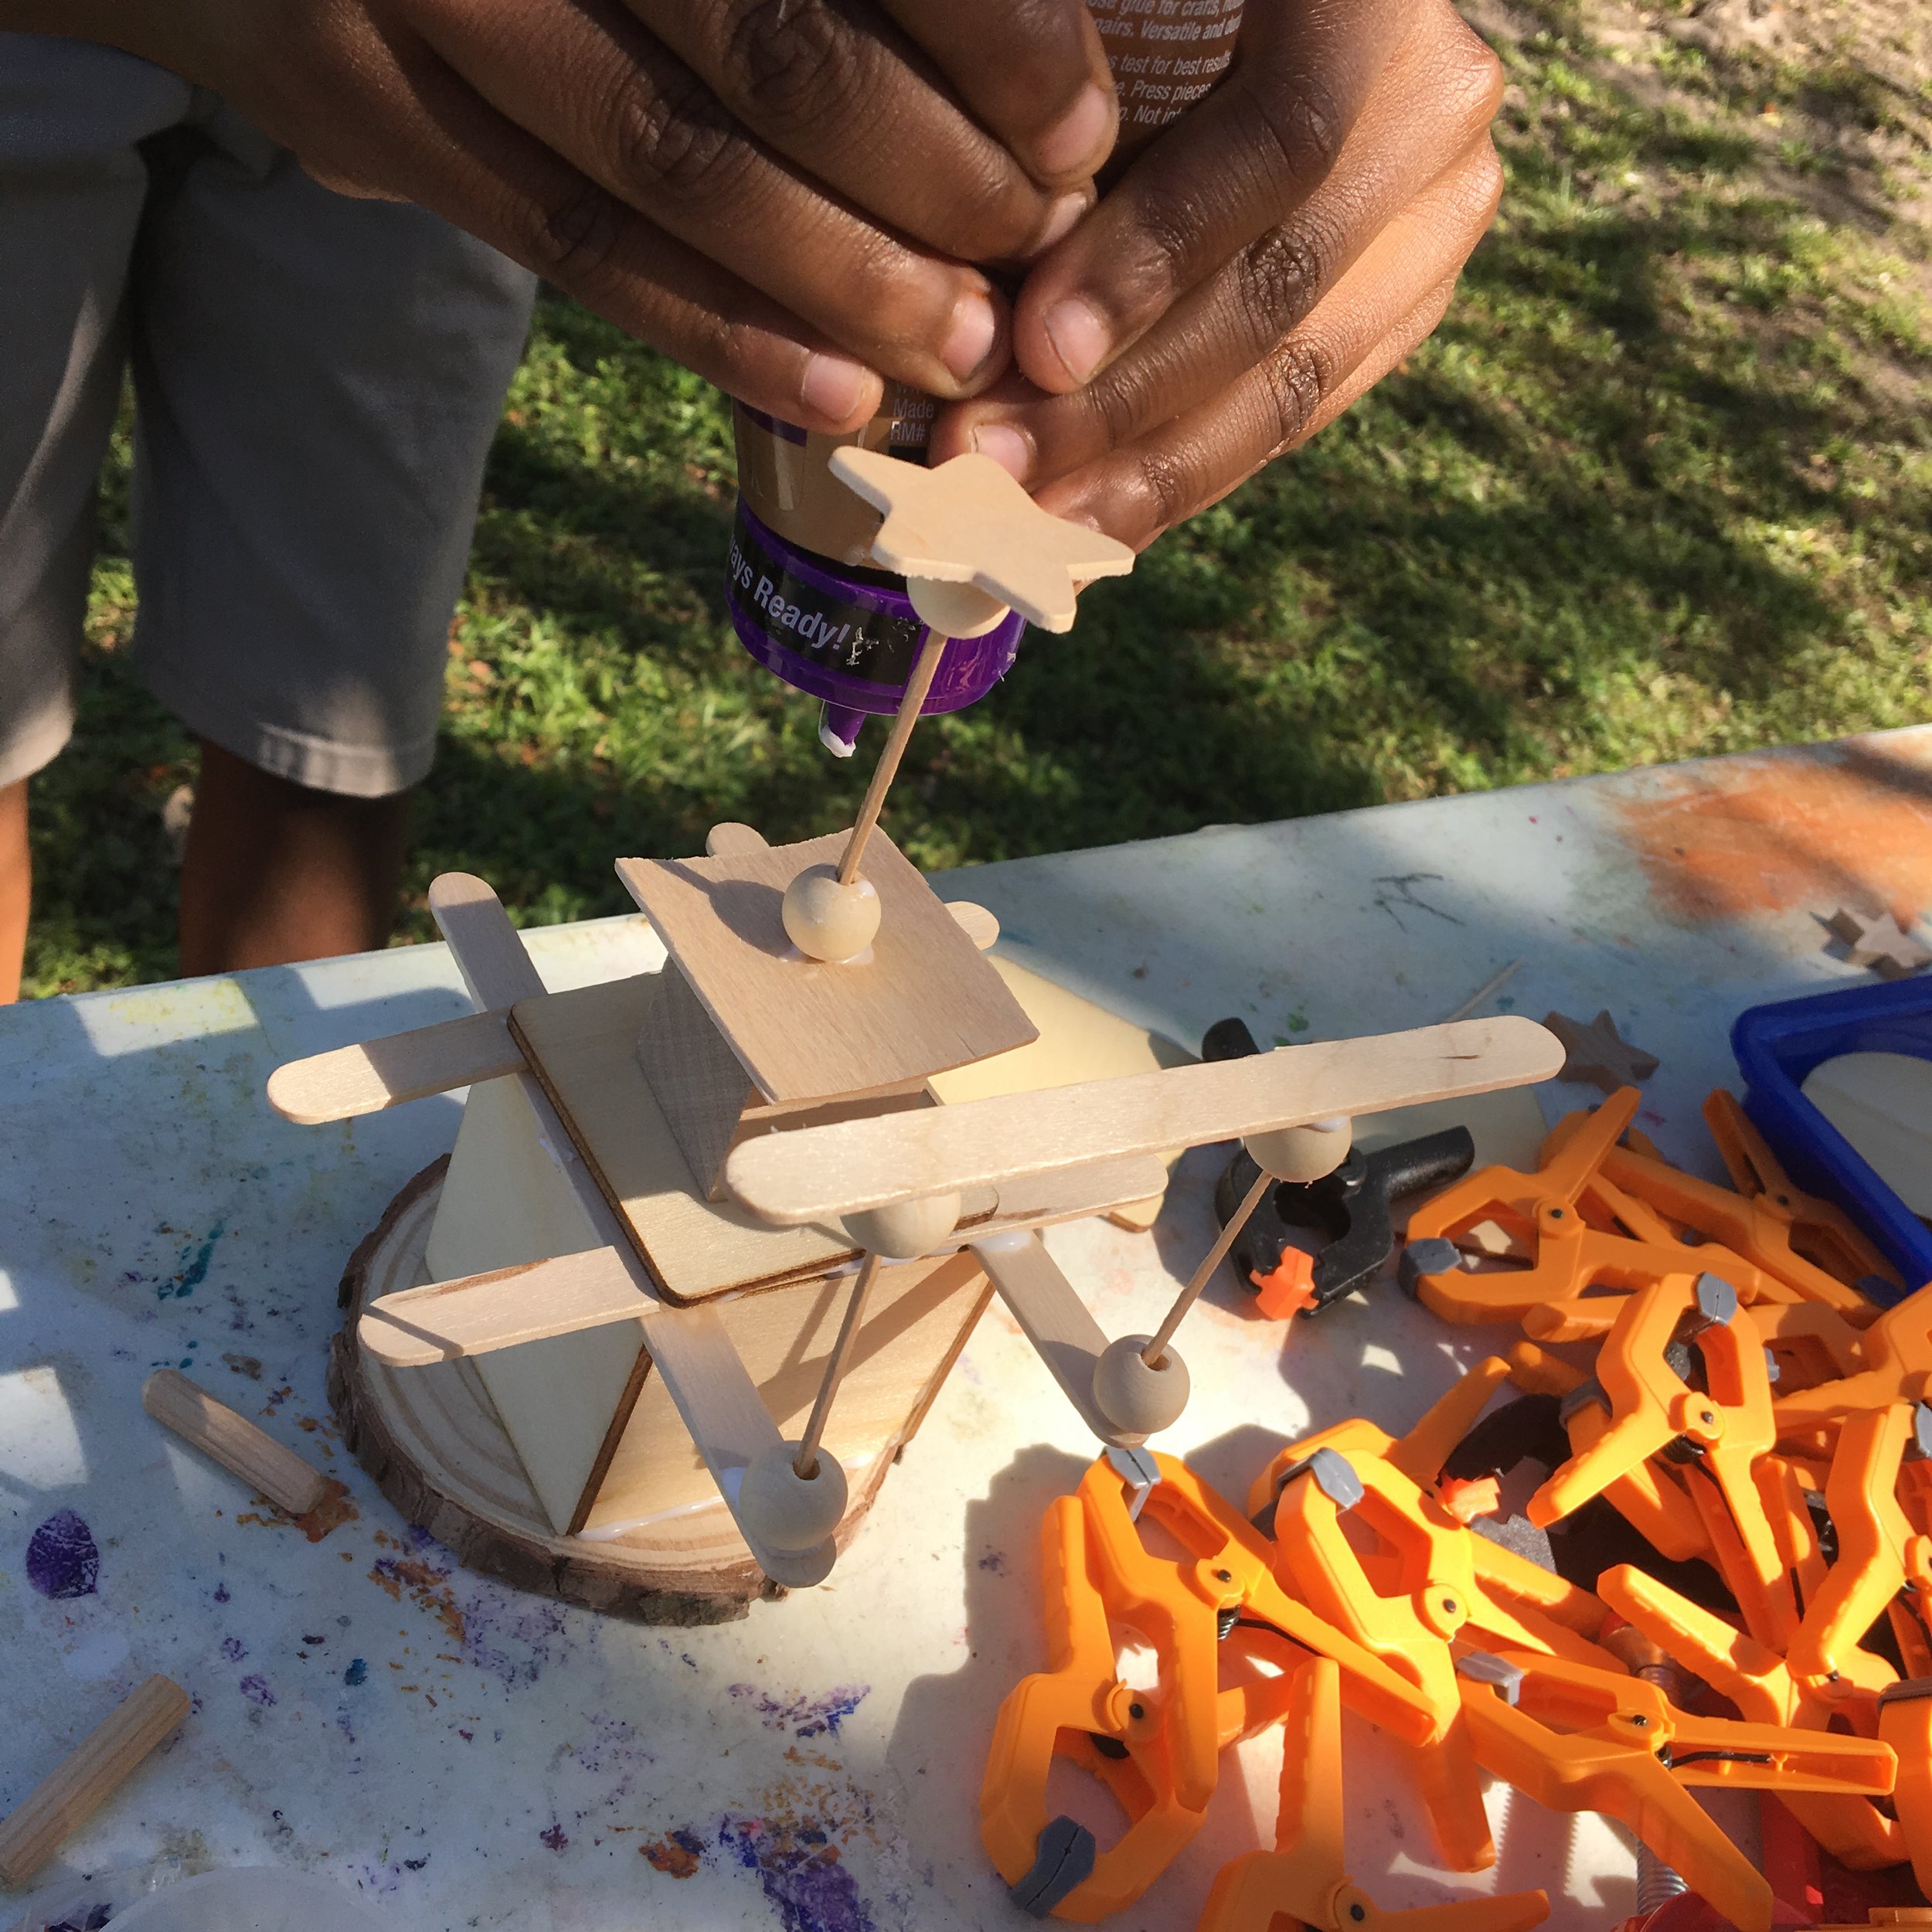
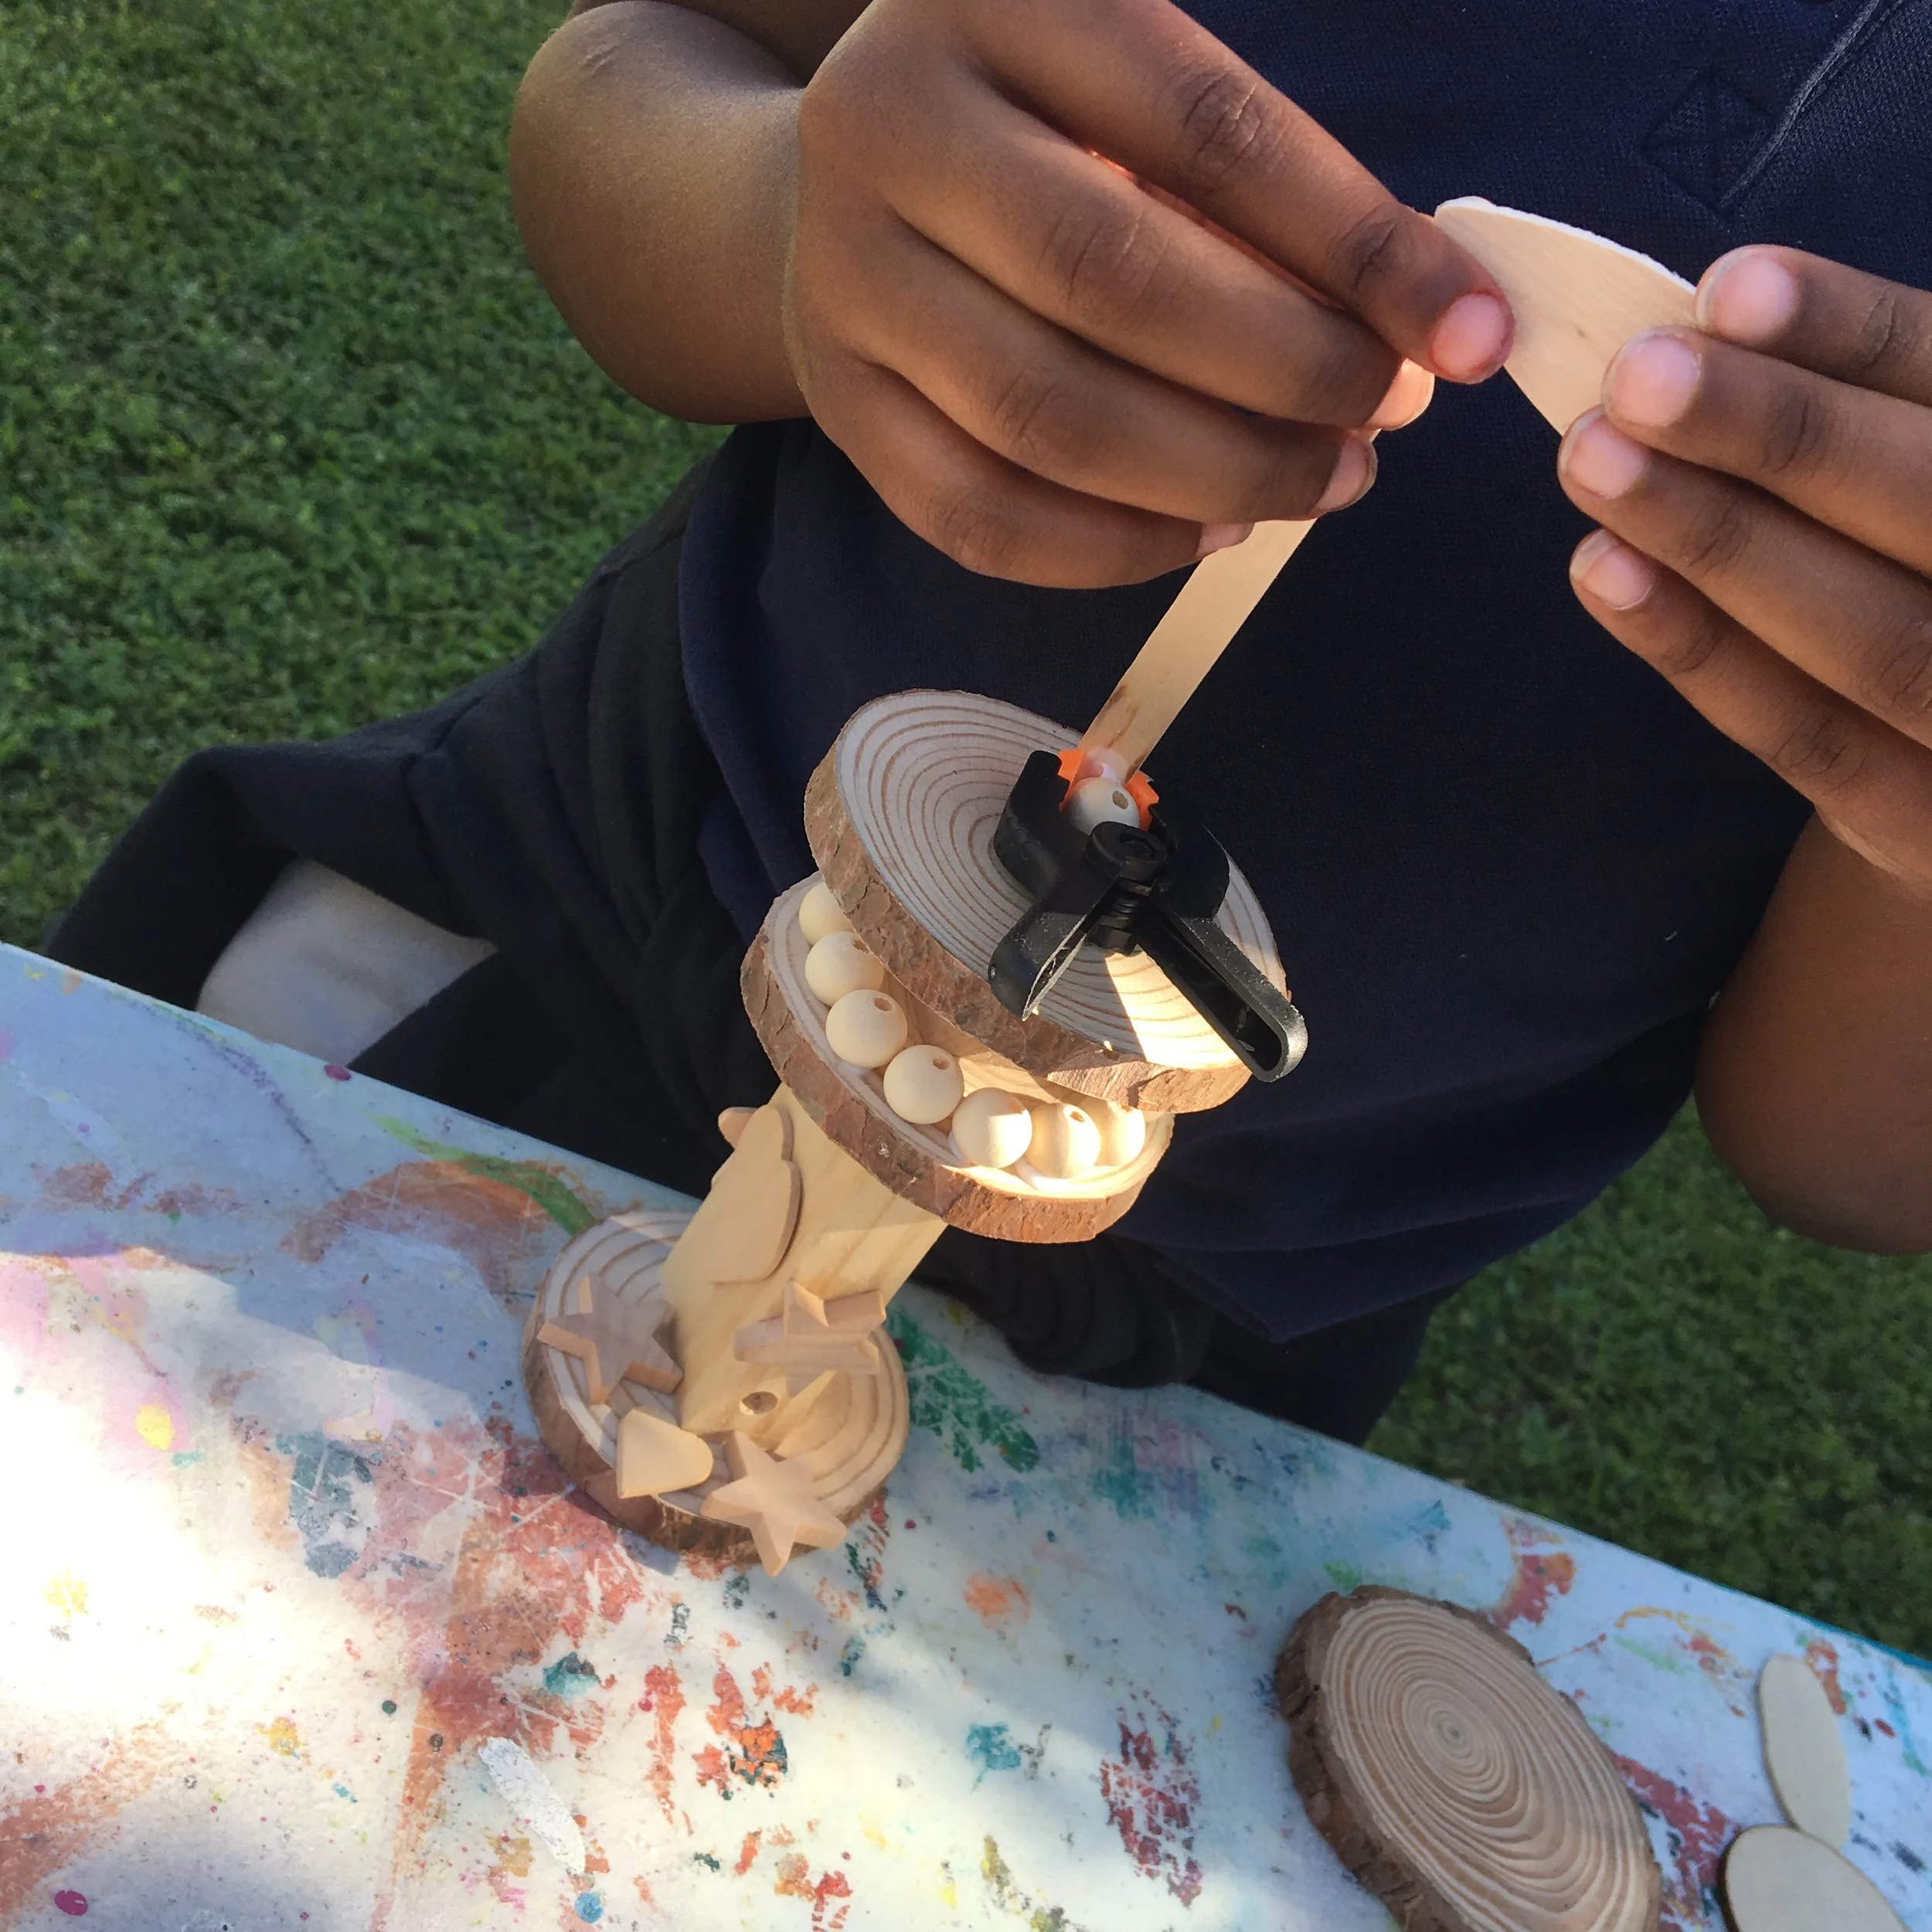
Optional level up for older children: small plastic spring clamps or clothespins
How to set up the table:
Cover your table or use a work surface that you don't mind getting a little washable glue on.
Spread the wooden pieces out so your child can easily see and grab what catches their eye. Pour a small amount of tacky glue into a shallow bowl or cup and add a popsicle stick for spreading. You might want to quickly show your little ones how to use the stick to spread glue.
Note: We like Aleene's Tacky Glue for wood builds because it’s thick and sets quickly, but that can also make it harder to squeeze from the bottle, so the bowl-and-stick method is much easier for kids.
How to facilitate (without taking over):
Instead of giving instructions, you can begin building something of your own for a few minutes, casually talking out loud about what you’re trying, noticing what works, and showing that experimenting and changing ideas is part of the process. Generally, this is enough to get them going.
Avoid fixing, suggesting, or redesigning their work. Struggles and experiments are part of the learning.
Encourage patience with glue. Holding glued pieces together while counting to 20 gives tacky glue time to start setting.
For younger children: help them hold pieces in place; make counting to 20 a fun and important part of the process.
For older children: advise them to hold pieces in place for 20 seconds explaining that this will make their sculpture stronger. You can also introduce lightweight spring clamps to help hold things in place while they continue to build.
Helpful reminders:
It’s okay if pieces fall apart—trying again is part of the process.
Finished artworks will need a little time to dry before being moved.
The goal is exploration and confidence, not a perfect or polished object.
Most important:
Your role is to create an encouraging space and to support your child’s ideas. Curiosity, imagination, and persistence matter more than the final result.
Optional next steps:
After the glue has set for at least 24 hours, your child’s creation can be re-presented with additional art supplies like markers, watercolor paint, or air-dry clay for further exploration. They can continue to engage with and develop this piece over several creative play sessions.