
DIY Stamps!
What this project is:
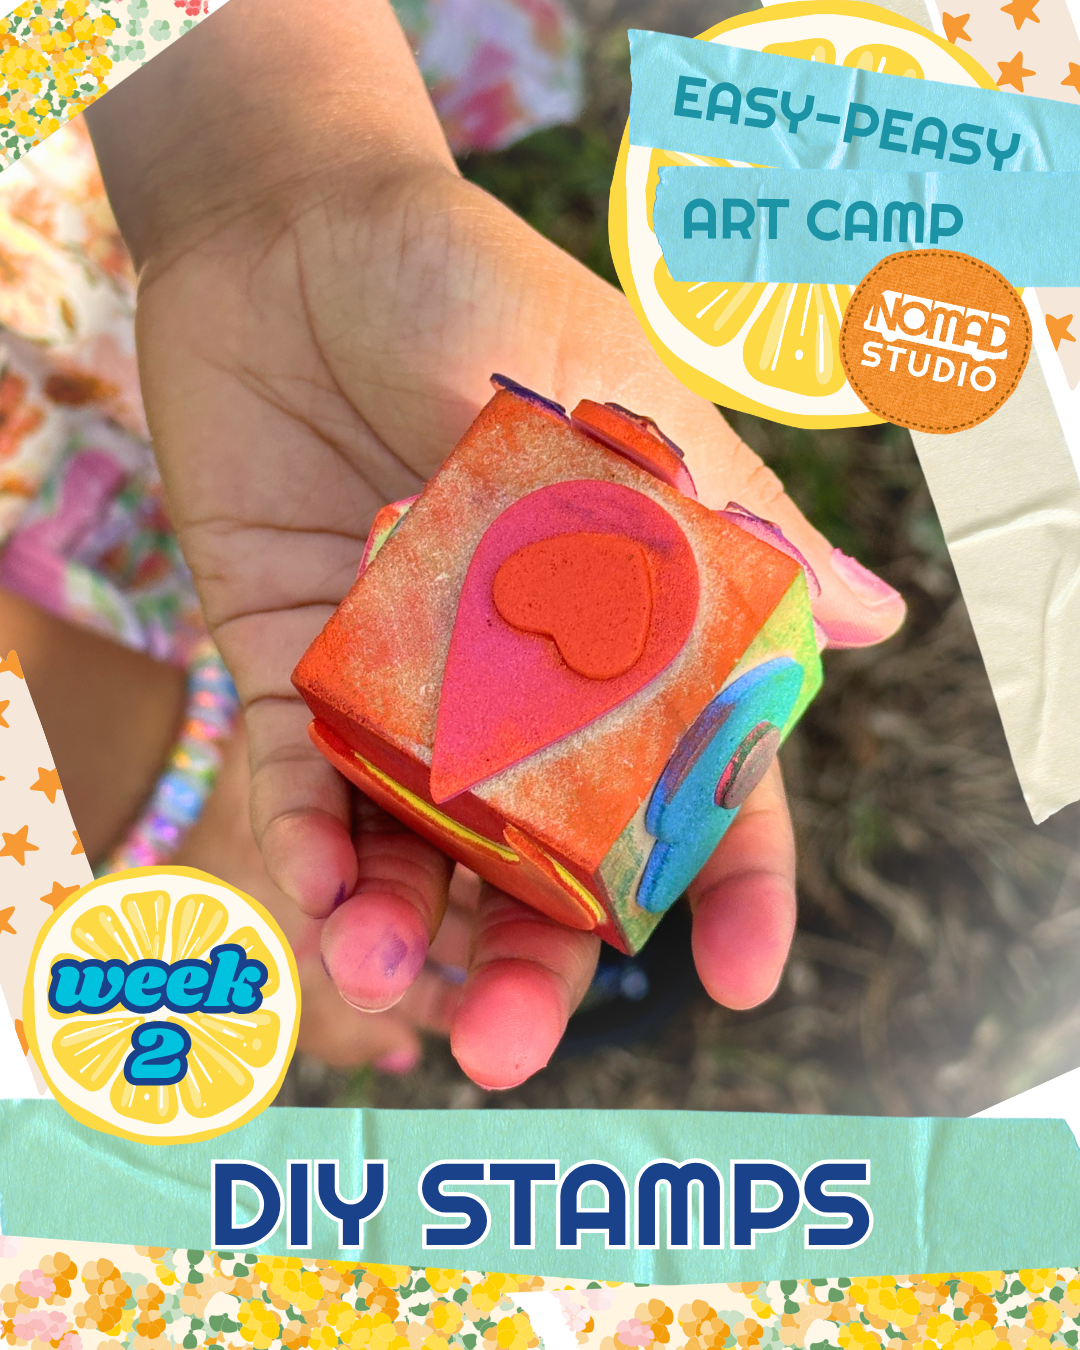
This is an easy, open-ended art activity where children create their own stamps using wooden cubes and foam shapes, then use them to make prints and patterns on paper. There’s no “right” result—the focus is on creativity, exploration, and trying things out.
What you’ll provide:
· 1" wooden cubes (1.5”-2” cubes work well too)
· Peel-and-stick foam shape stickers
· Washable stamp pads (we like to use any 2 or 3 colors that line up in order on the spectrum, like: blue, purple, red -or- red, orange, yellow)
· Paper (any kind will do)
How to set up the table:
Lay out the cubes, foam shapes, and paper so everything is easy to see and reach. Open the stamp pads nearby and leave space for printing.
How to get started:
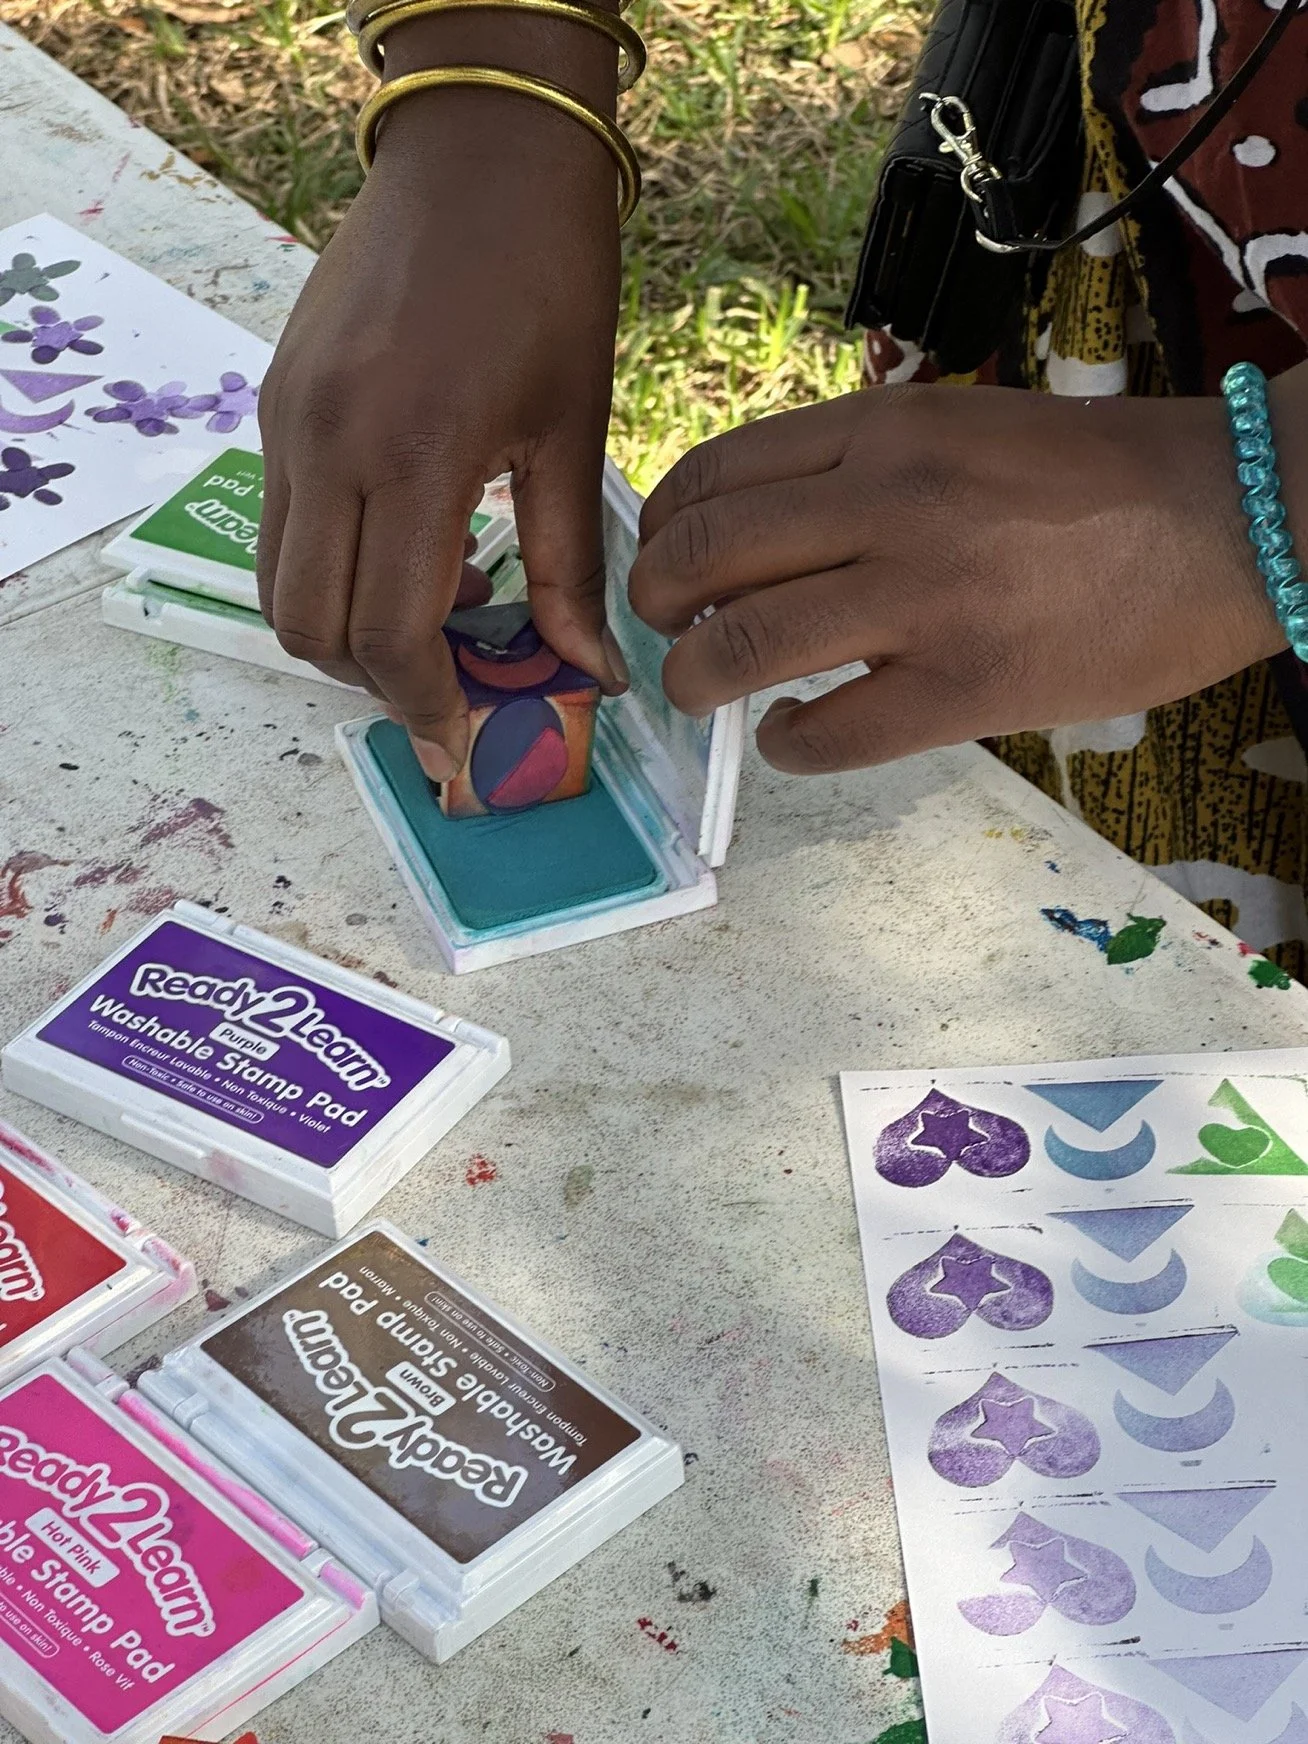
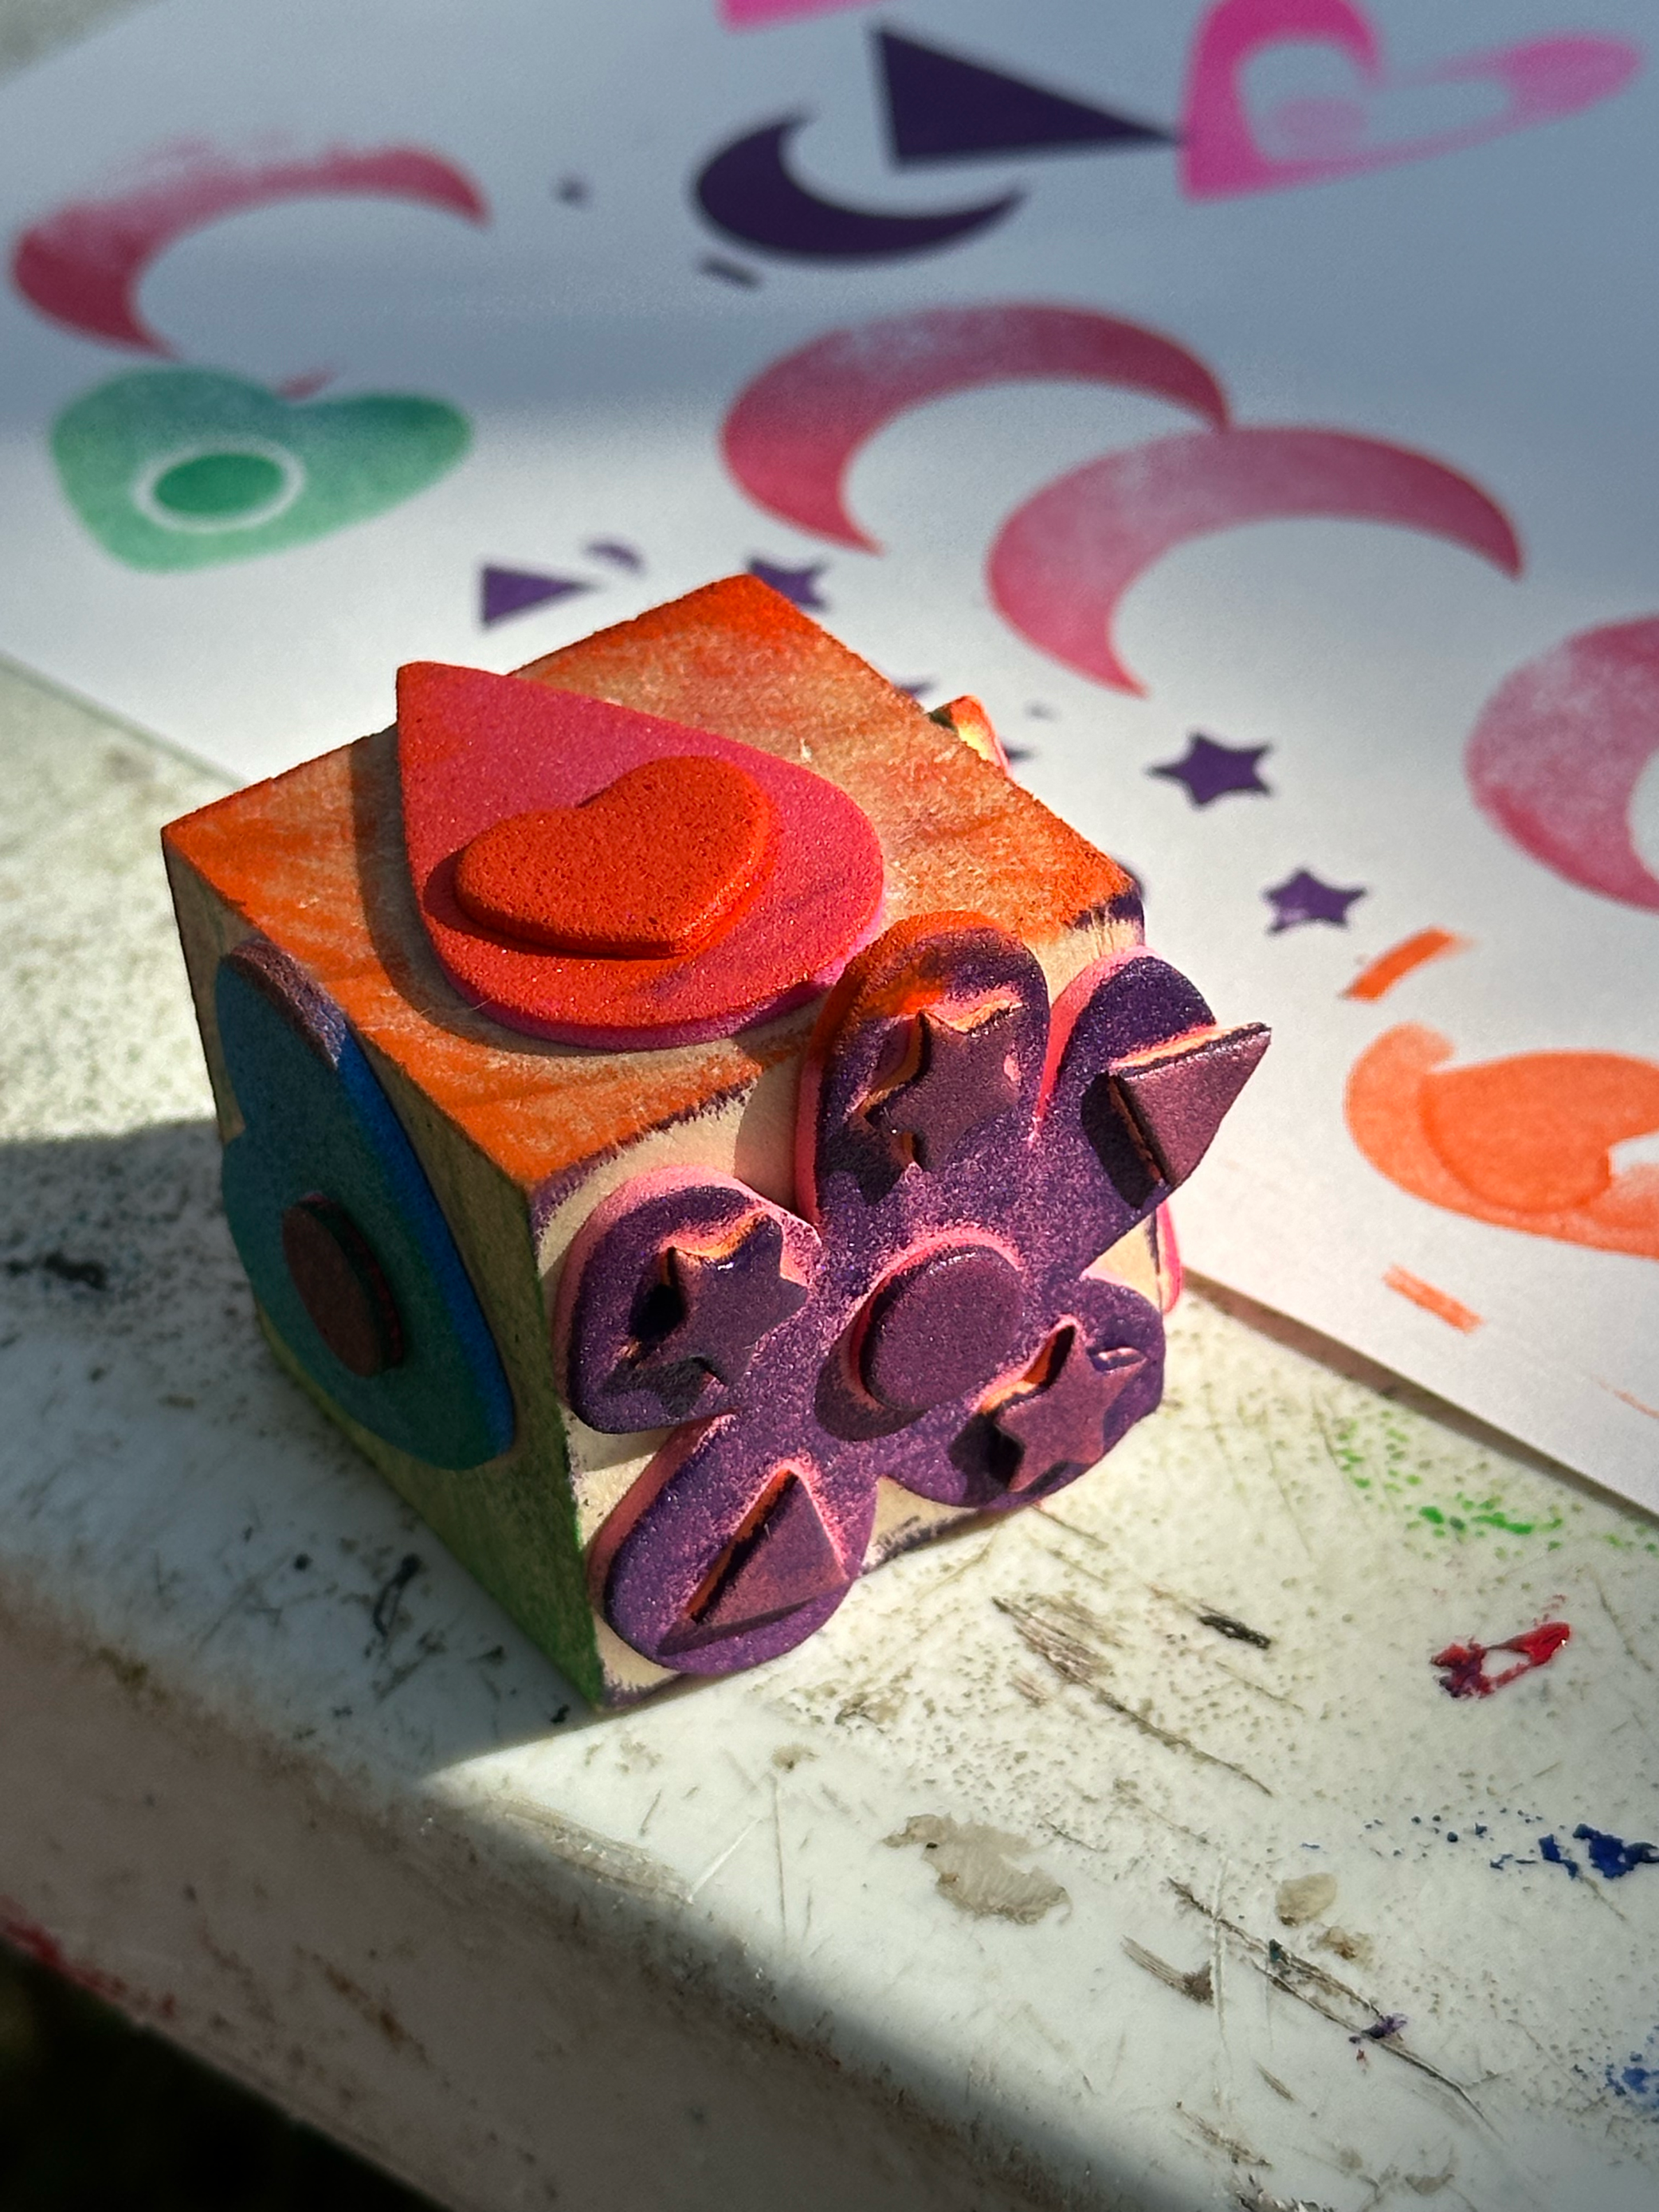
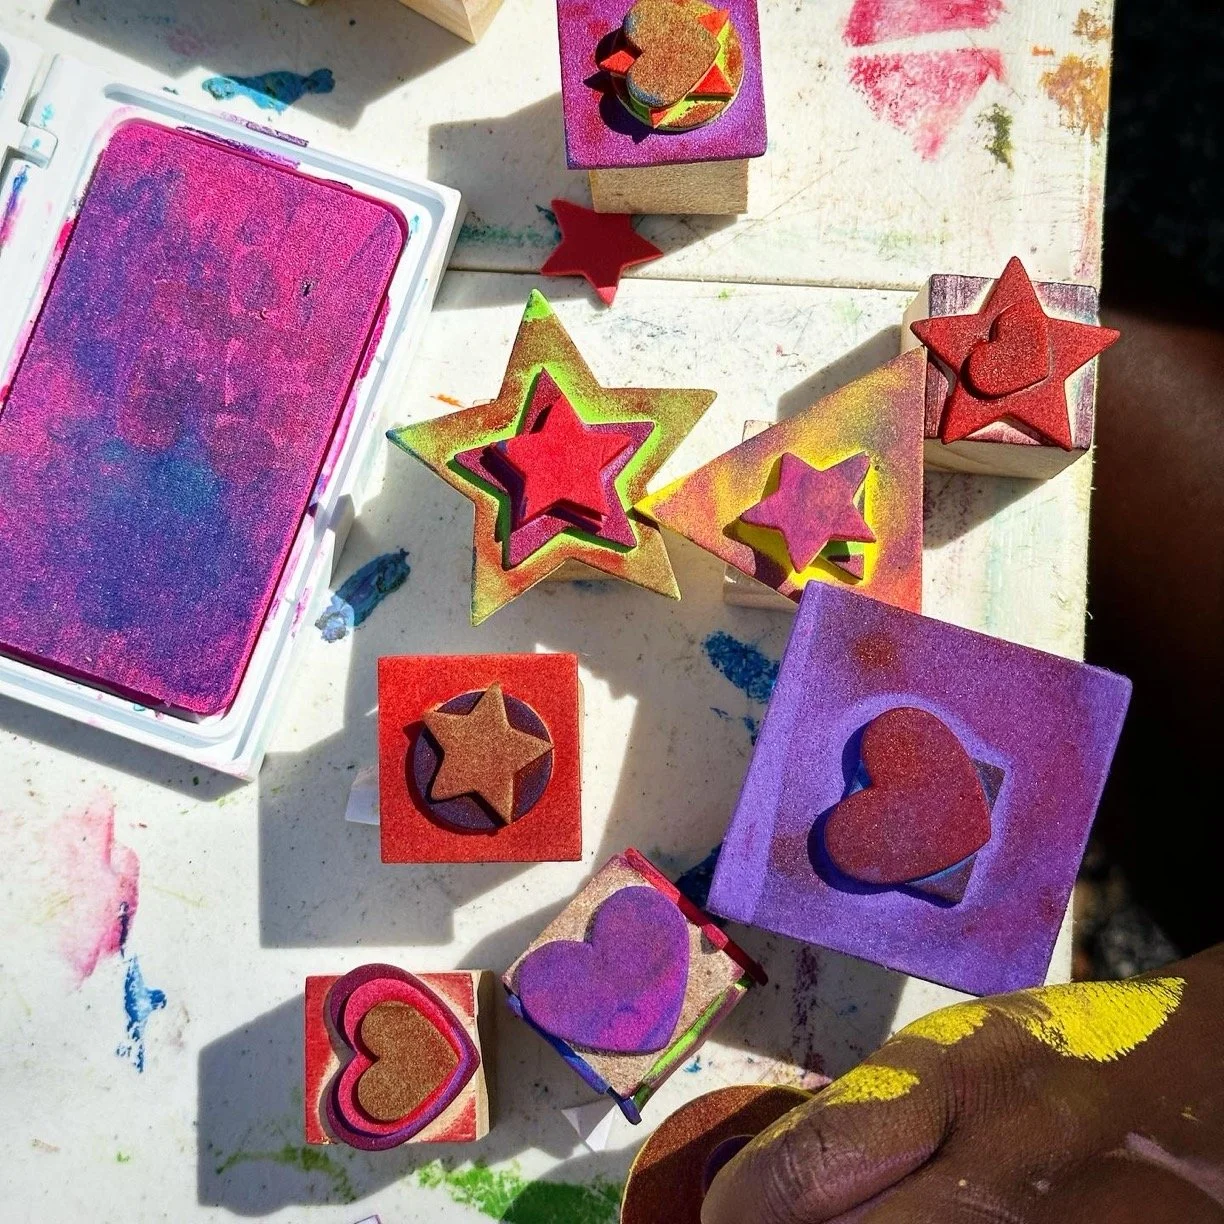
Invite your child to choose foam shapes and stick them onto the sides of the cubes to create their own designs. Sometimes they get deep into this part of the process. Let them! Don’t rush to move on to stamping. Other children will want to try out a stamp every time they add a new sticker. All of this is curiosity and exploration, so encourage whatever comes up! Once they are ready to move onto stamping, show them how to press their stamp into the ink pad and stamp it onto the paper to make designs, patterns, and images.
How to facilitate (without taking over):
· Make your own stamps too! We always like to model creativity instead of trying to explain how-to.
· Let your child lead and make their own design choices. Some children will put stickers on all sides of the block; others will use one block per stamp. It's all okay!
· Experimenting is part of the process! Try to keep yourself from making comments about how good something is (this is hard, we catch ourselves all the time) and instead:
o make observations like: “look at where these colors overlap! It looks like a new color!” or “look! I see a pattern! Circle, circle, square, circle, circle, square”
o ask them questions like: “what happens if you don’t re-ink your stamp? How many times can you stamp it before it runs out of ink? Let’s count!”
· We always like to discuss “roses and thorns” after projects. No one is too old for this: we do this EVERY session with the teens we work with in the juvenile justice system. We ask what are your roses for this project? (What did you enjoy? What were the best parts?) What are your thorns? (What was frustrating? Uncomfortable?)
Helpful reminders:
· Some children may need help removing the backing paper from the foam shape stickers. We use this as an opportunity to remind them to ask for help when they need it. Foam stickers are an excellent entry point for building sticker skills, so, yes to helping them AND to encouraging them to keep trying to do it themselves
· If your child is about to try something that you think won't work (e.g. stacking 4 stickers on top of each other), don't intervene! Let them try it and see the results then invite them to share observations. This is about trying, observing, and learning.
· Using stamp pads in 2-3 colors that line up together on the spectrum will help to keep the colors from getting muddy, BUT muddy colors are okay too! There are no right or wrong colors.
· Prints may look different depending on how much or what combinations of inks are used—that’s part of the fun.
· The goal is exploration and confidence, not a perfect finished piece
Most important:
Your role is to create a relaxed, encouraging space and support your child’s ideas. Creativity and curiosity matter more than the final result.